Replacing Elastics in 'Happy Heinys' Cloth Nappies
Been a bit quiet on the posting front, as the bub has been keeping me on my toes, and I've ended up getting back into work a little earlier than I intended. #freelancelife, basically. Still working on some strategies to post with more regularity, if not more frequently, so we'll see how that goes.
Since coming home from hospital[1], we’ve been cloth nappying our bub. This is something I would like to discuss further in another post, but to summarise, we’re not crunchy types, but we’d like to minimise our footprint where we can. Cloth nappying is just one of the ways we’re trying to do it, and we’re also using second-hand cloth[2]. In part for the footprint thing, and also so that we could try a few different brands and types to determine which ones suited our bub best without having to stump up up to $40 per nappy.
One of the disadvantages of second-hand cloth is that they might need a little refurbishment along the way. Provided they don’t leak, replacing the elastics around the legs and waist will usually be enough to keep them trucking along. Most of our purchases were made with the nappies and their elastics in good condition, but there were a few priced too well to pass on, and that came with a couple covers with slack elastics.
Luckily for me, the worst ones were also the easiest to repair.
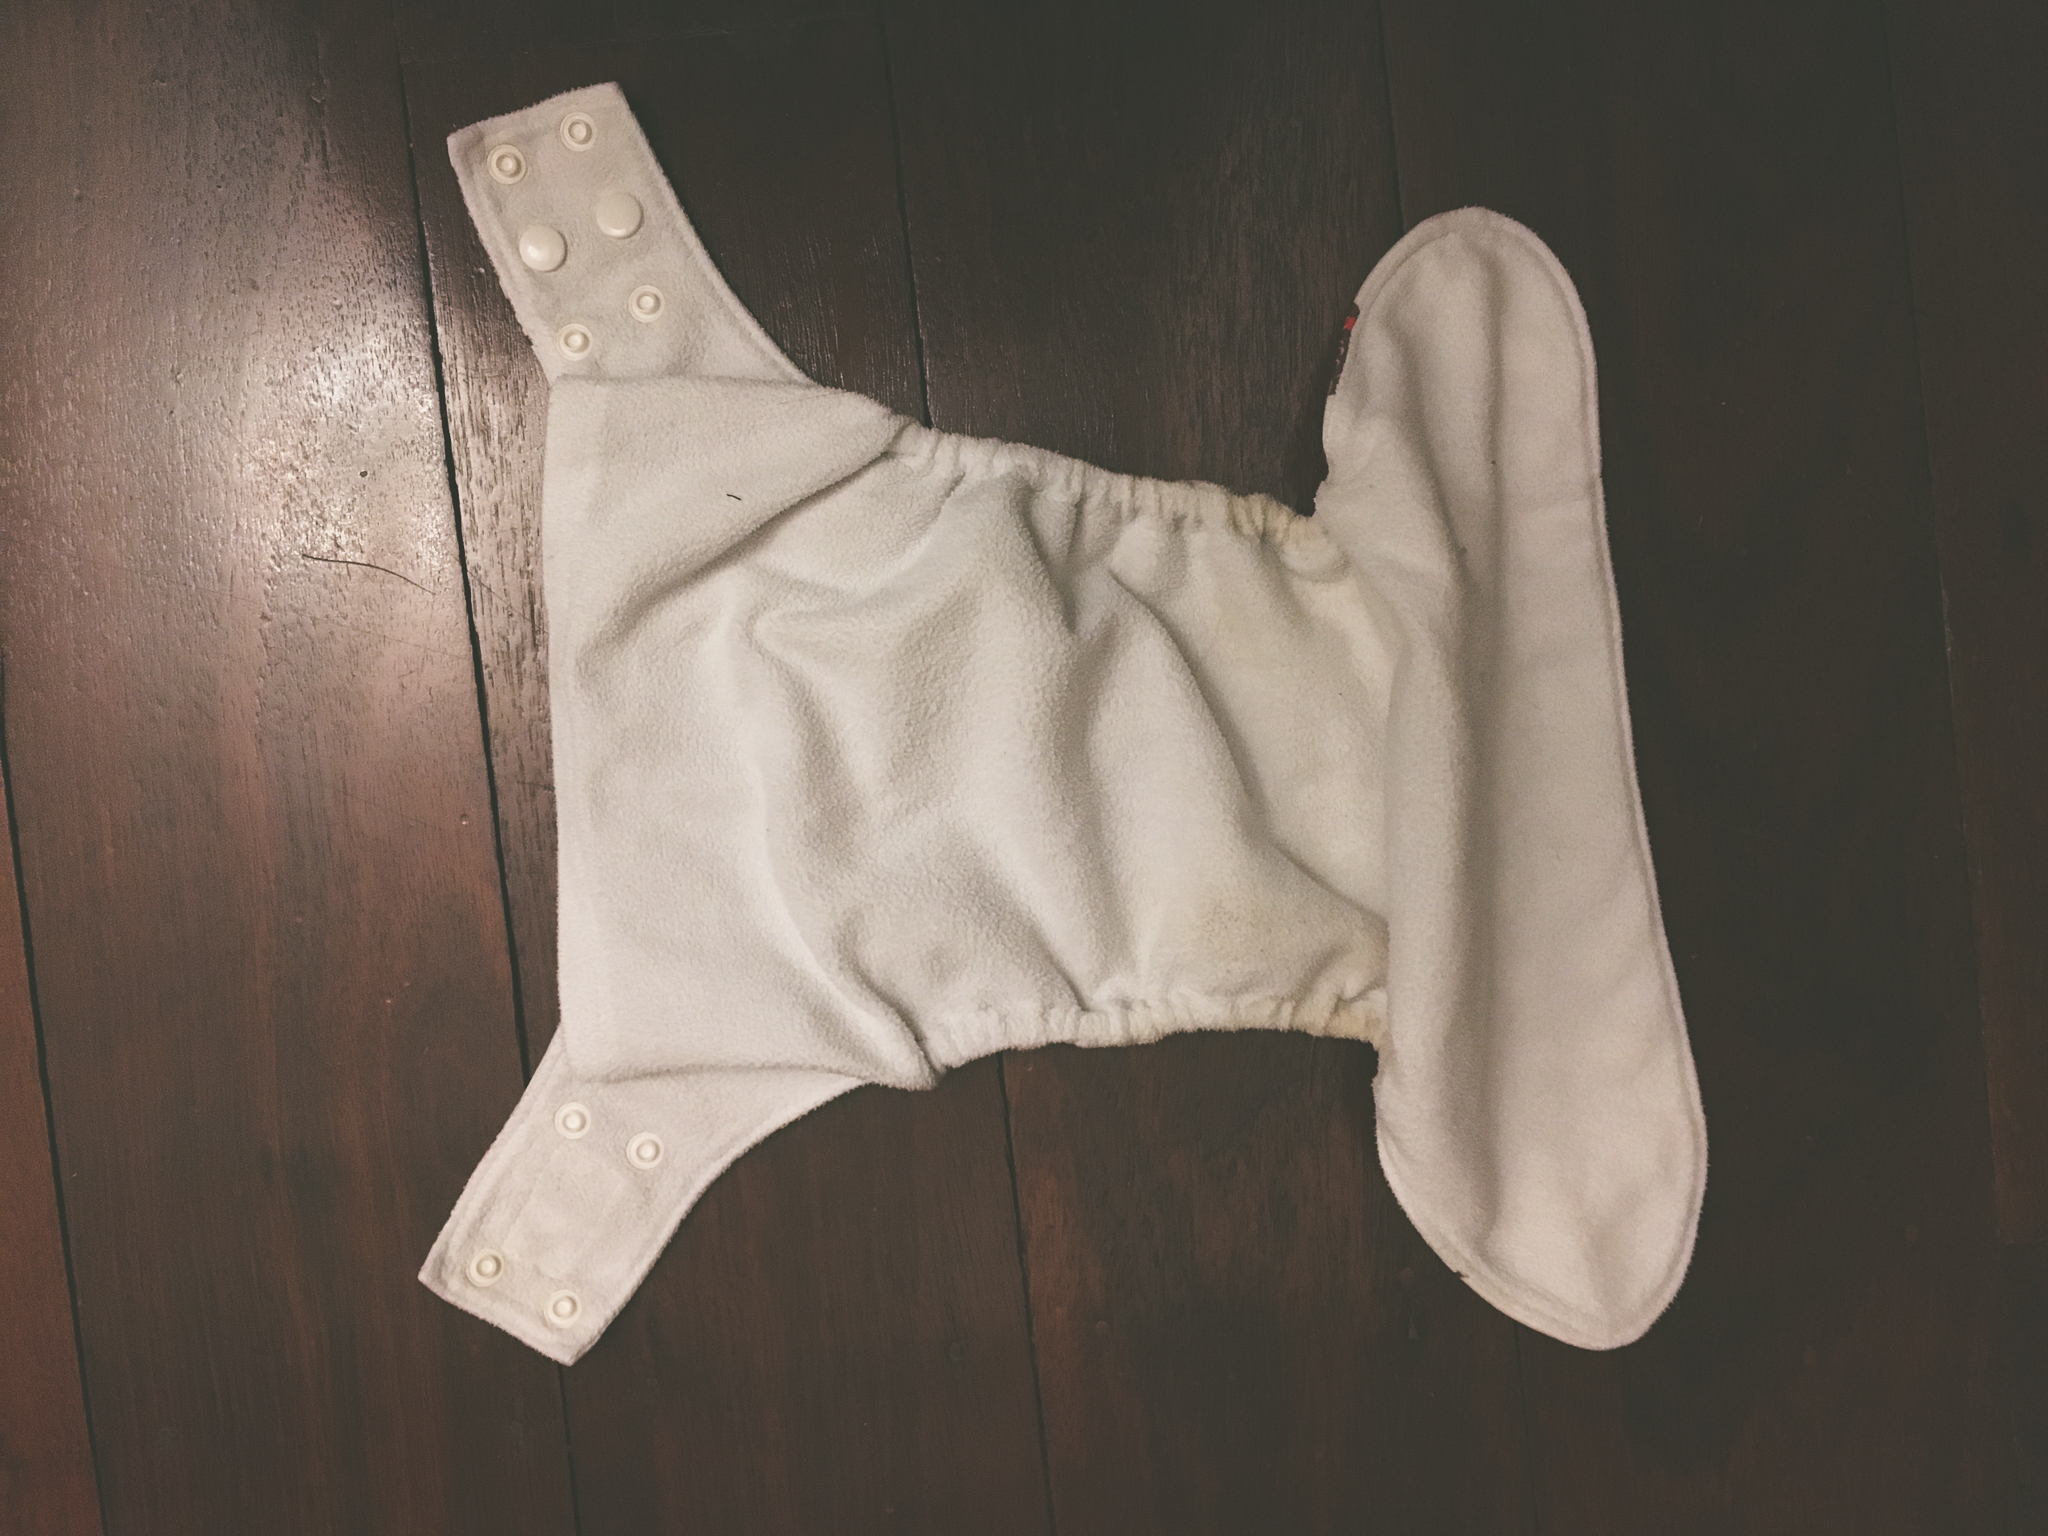
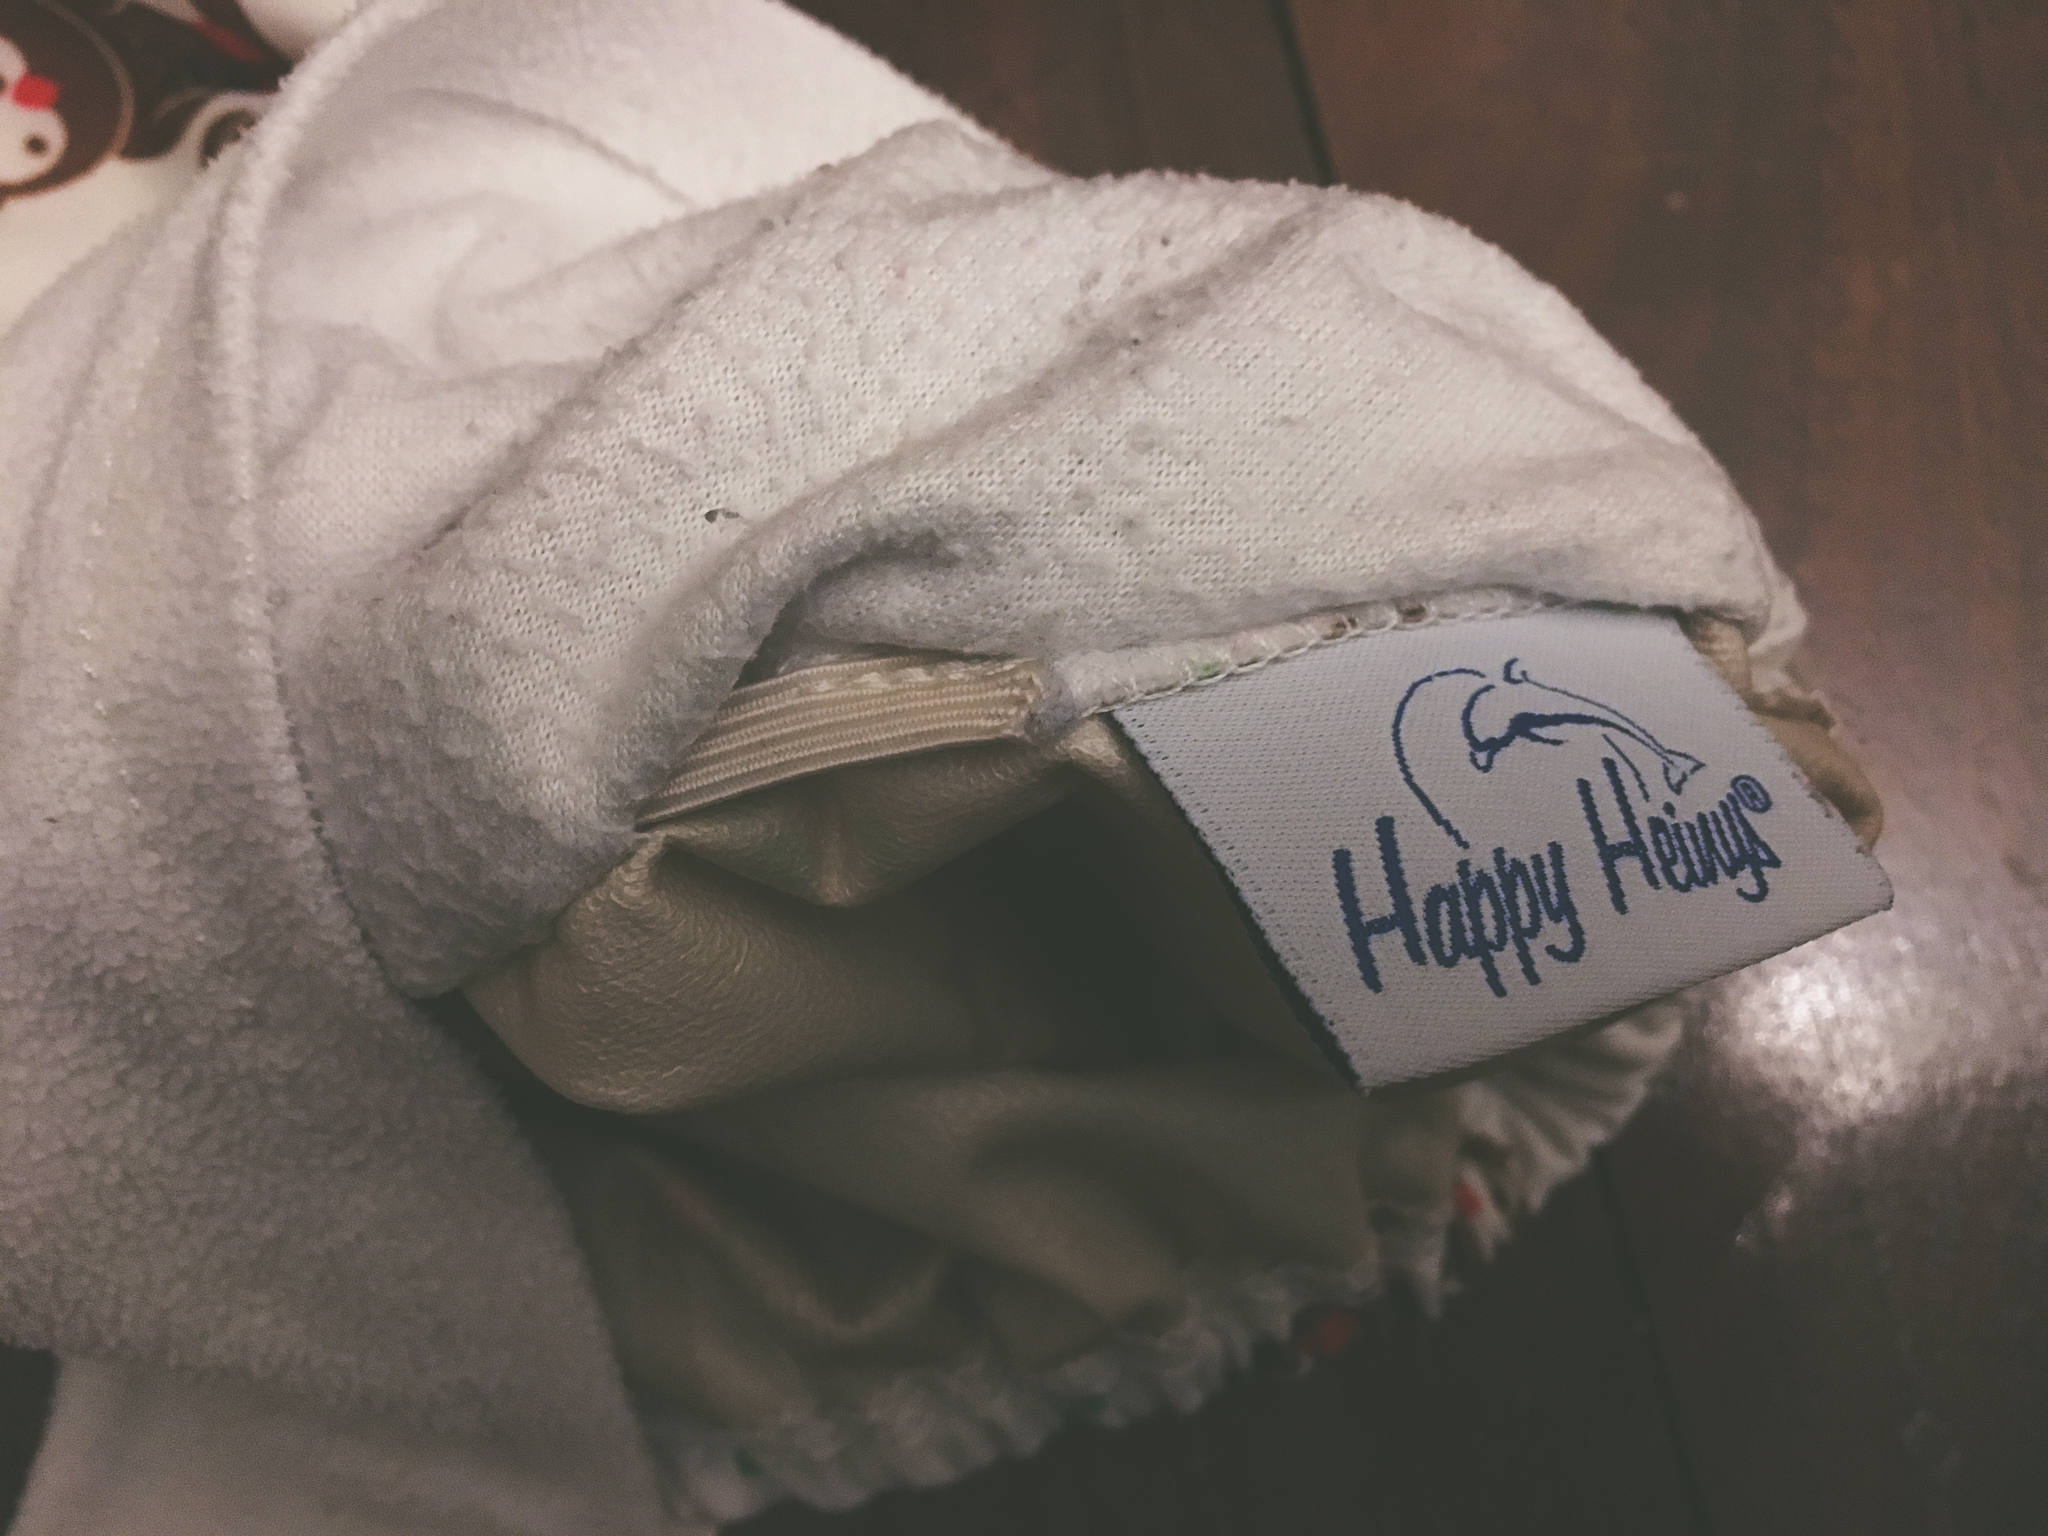
Happy Heinys are a pocket nappy with elastics at the top which sit around the back, and around the legs. Based on the elastic lengths of a few other nappies, the leg elastics should be around 4.5” and the back between 4.5-5.5”. These don’t look too bad, but while the length seems about right, they have an awful lot of give, so they don’t feel terribly snug. I'd feel a lot more secure using them with a more firm elastic.
Cut your three lengths of elastic and set them aside.
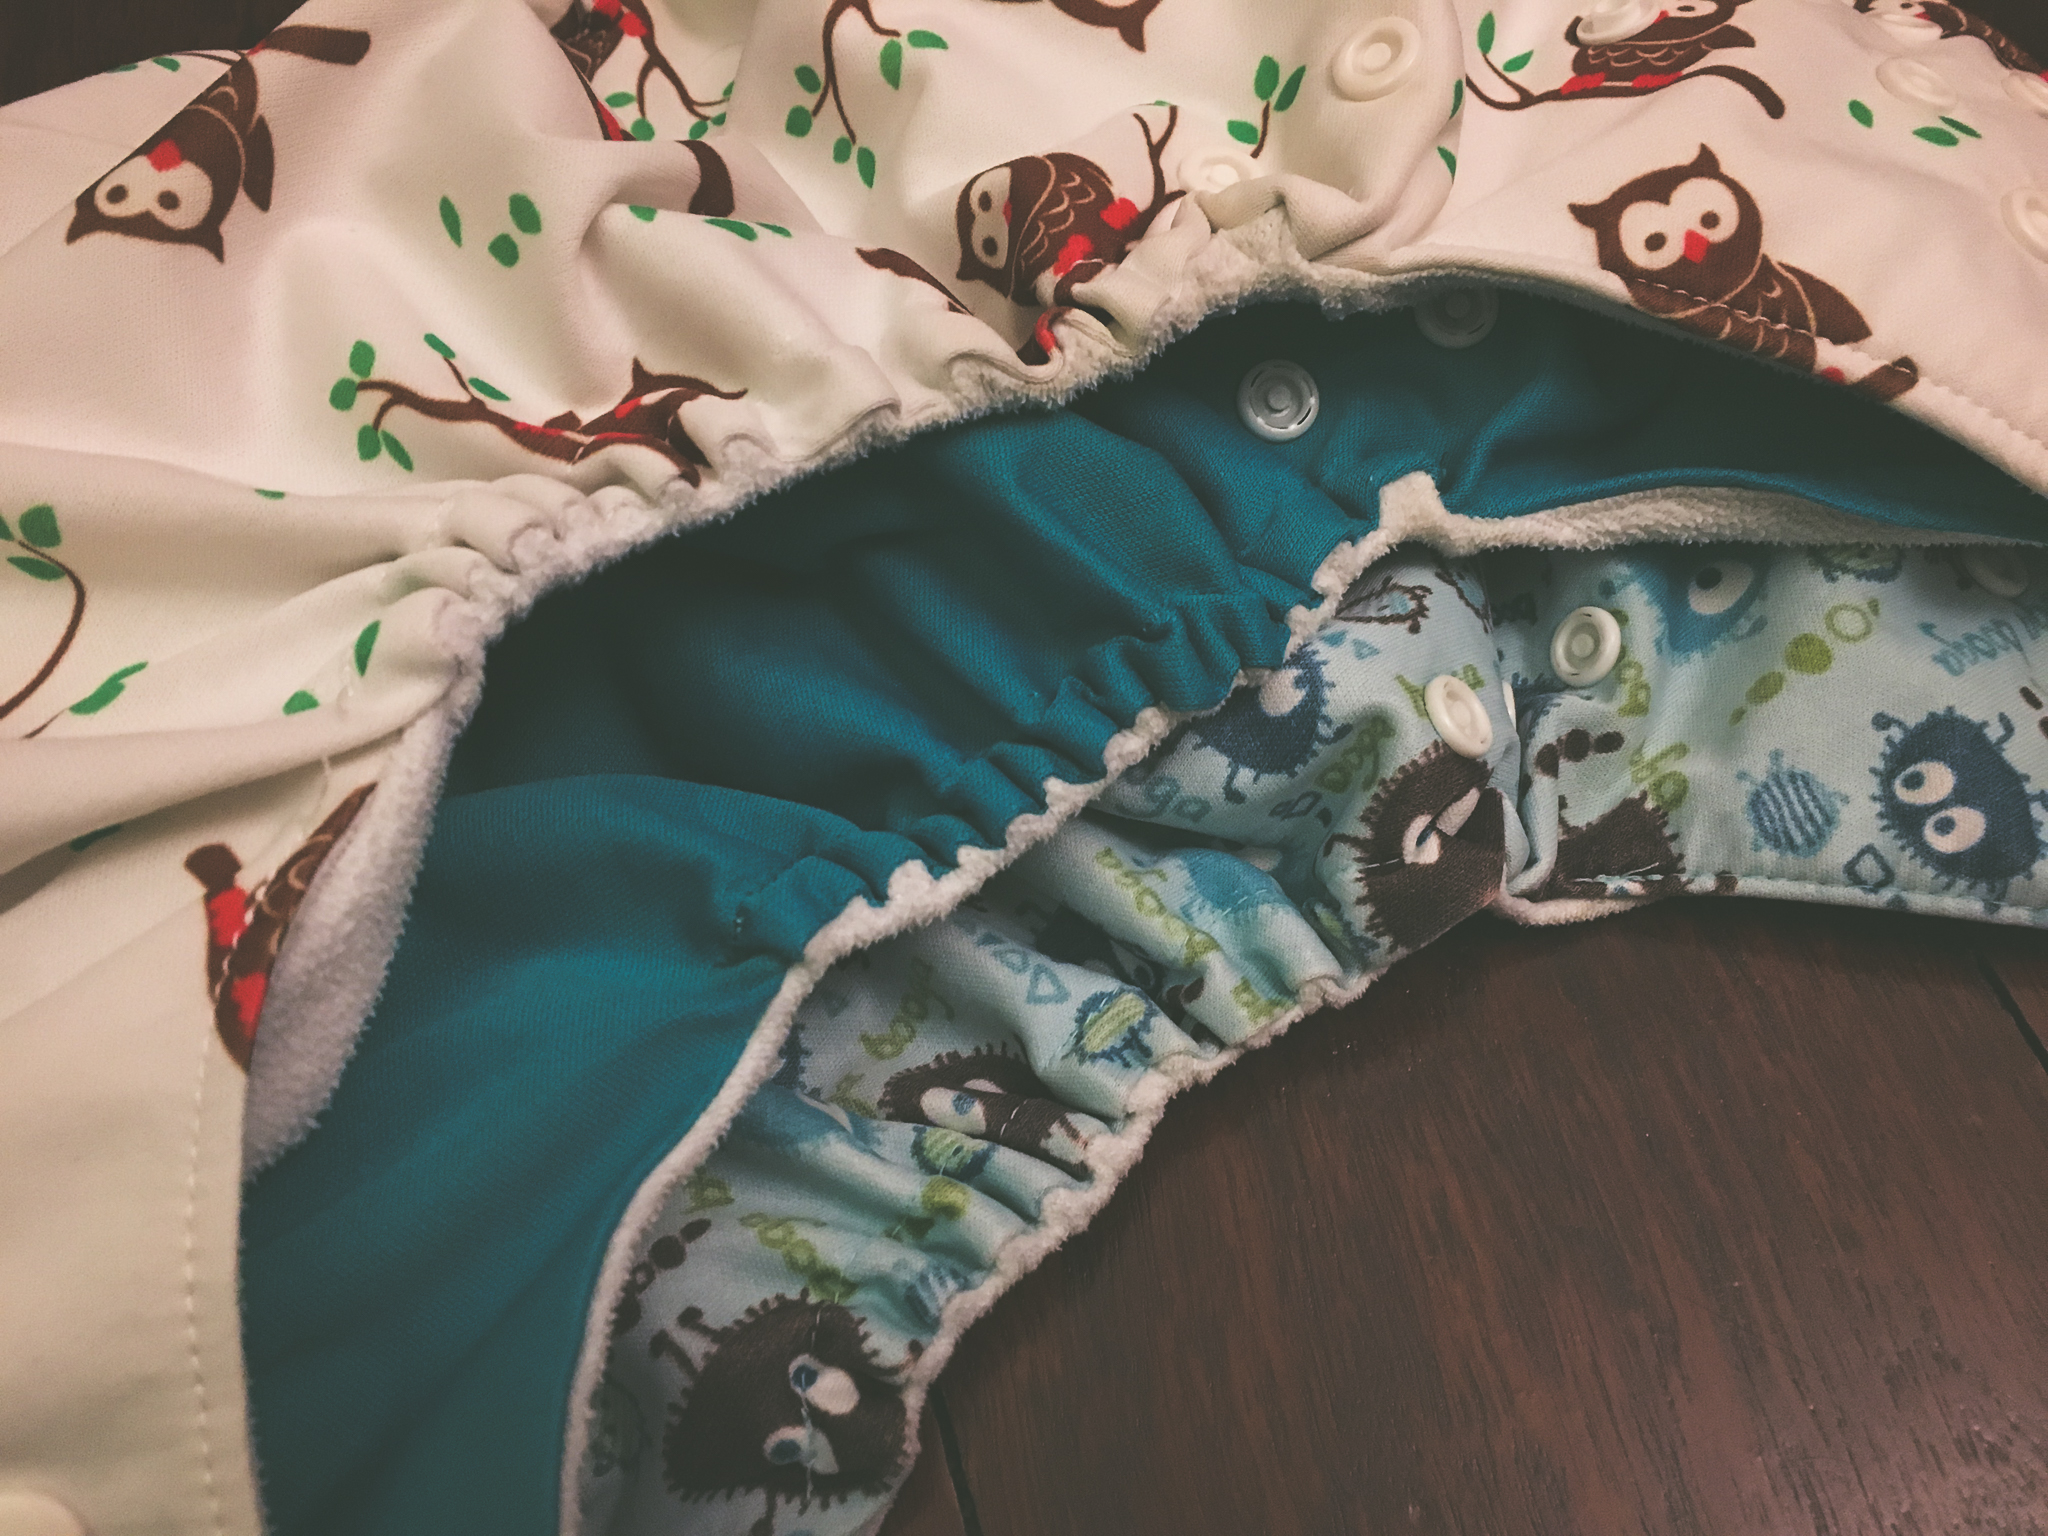
If you turn the nappy inside out, at either end of where the elastic is, the ends are visibly sticking just outside the channels. The first image is of the leg elastic, and the second of the back. You should be able to see the stitching where the elastic is attached to the seam allowance. For accuracy, the leg elastic is attached with stitches along the seam, and it's a little difficult to see, but the back elastic is attached with stitches perpendicular to the seam.
Unpick one end of the old elastic, and tack it end to end with a piece of your new elastic (I used 6mm). Stitch the other end of the new elastic where the old one was, reattaching it to the seam allowance or inner layer, and being careful not to pierce any outside facing PUL.
Note: Using polyester thread instead of cotton will prevent leaks where you stitch. Probably not a big deal in this case as you're stitching onto the inner seam, but if you need to do any mending with outside facing stitches through PUL, polyester is apparently what you need.
Now go to the other end of the channel, unpick the other end of the old elastic, and pull it through. The new elastic you tacked on before should come with it. Unpick your tacked stitches and stitch down the end of the new elastic where the old one was. Repeat for all three elasticated spots.
I was a bit slow as I was watching TV at the time, but I got these done in about an hour. Old PUL withstanding, this little bit of mending should extend the life of these nappies for a while longer.
[1] Weren’t planning on doing a 4-5 day stay in hospital with cloth when we’d need about 12 nappies per day with no access to laundry facilities unless we planned to send them home with someone every day.
[2] Deep cleaned and sanitised before use.