Cowl-Neck Reversible Circle Skirt Dress
Cumbersome name, but what to do. I was inspired by the LuLaRoe Nicole dress, which is a full-circle skirt dress with a fitted bodice and half-length sleeves.
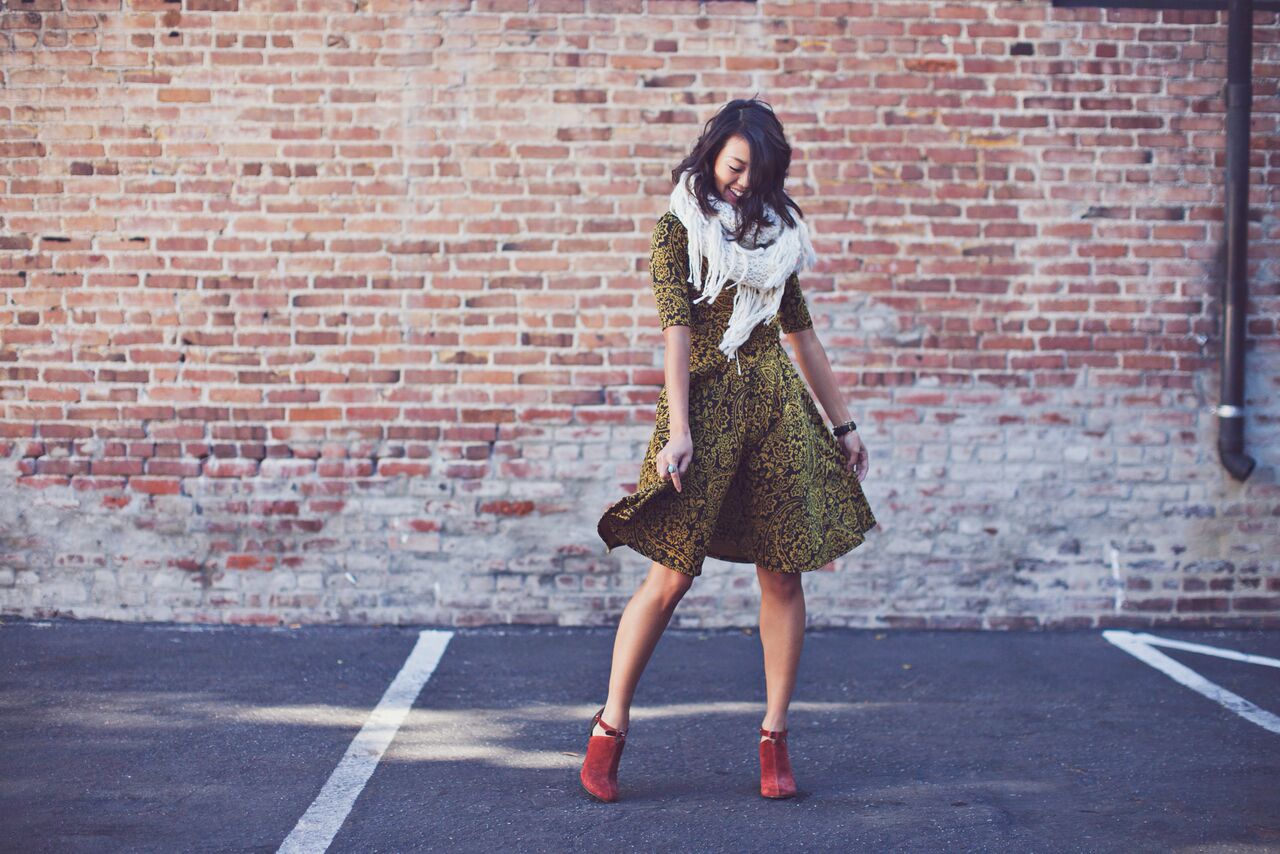
As you can see, it's a pretty cute dress.
Back in reverse-engineering mode, I cobbled together my own version, with a few changes because I'm a masochist.
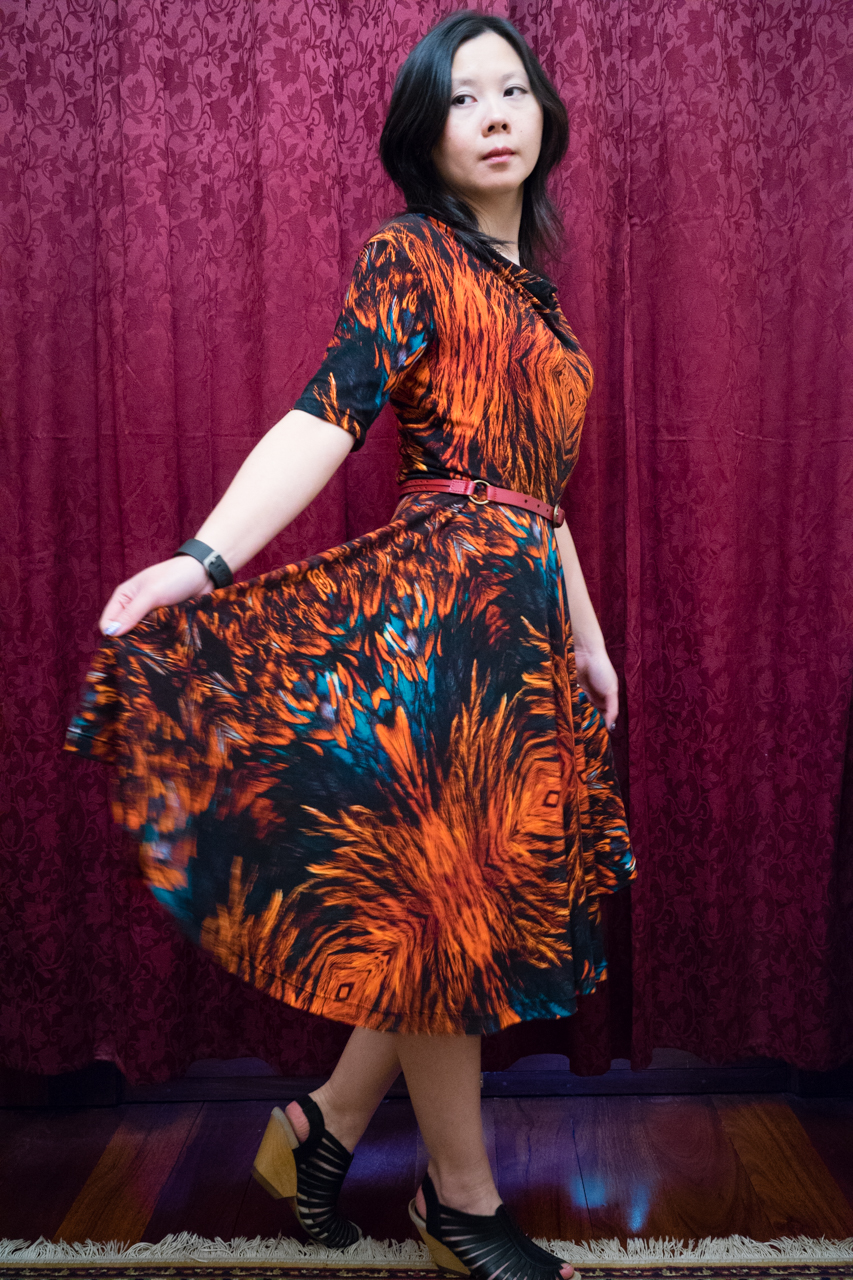
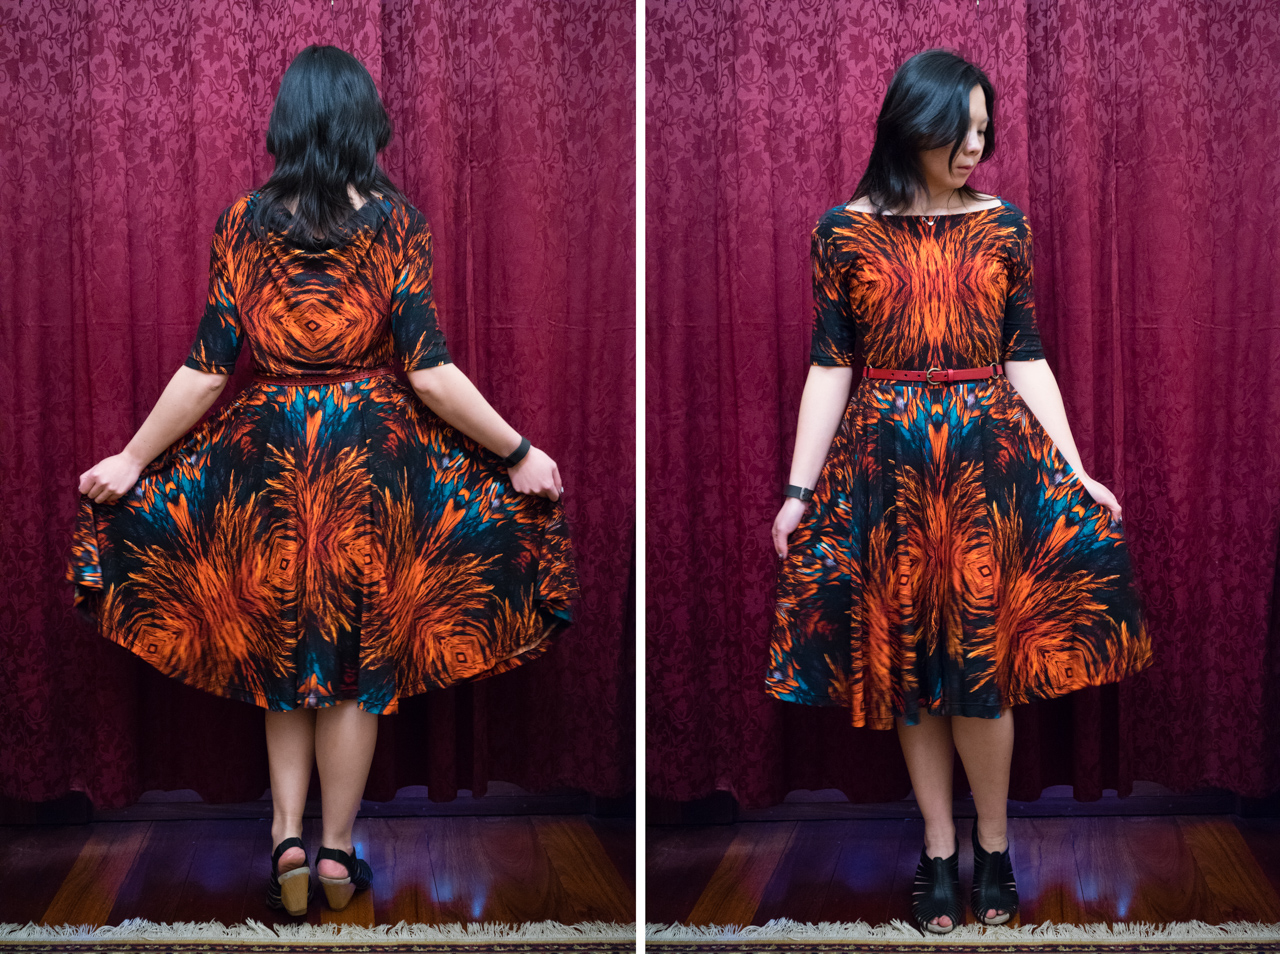
I added a cowl to the front, and a boatneck to the back so that the dress can be worn both ways. This works really well, but we'll see how often I wear it with the cowl at the back.
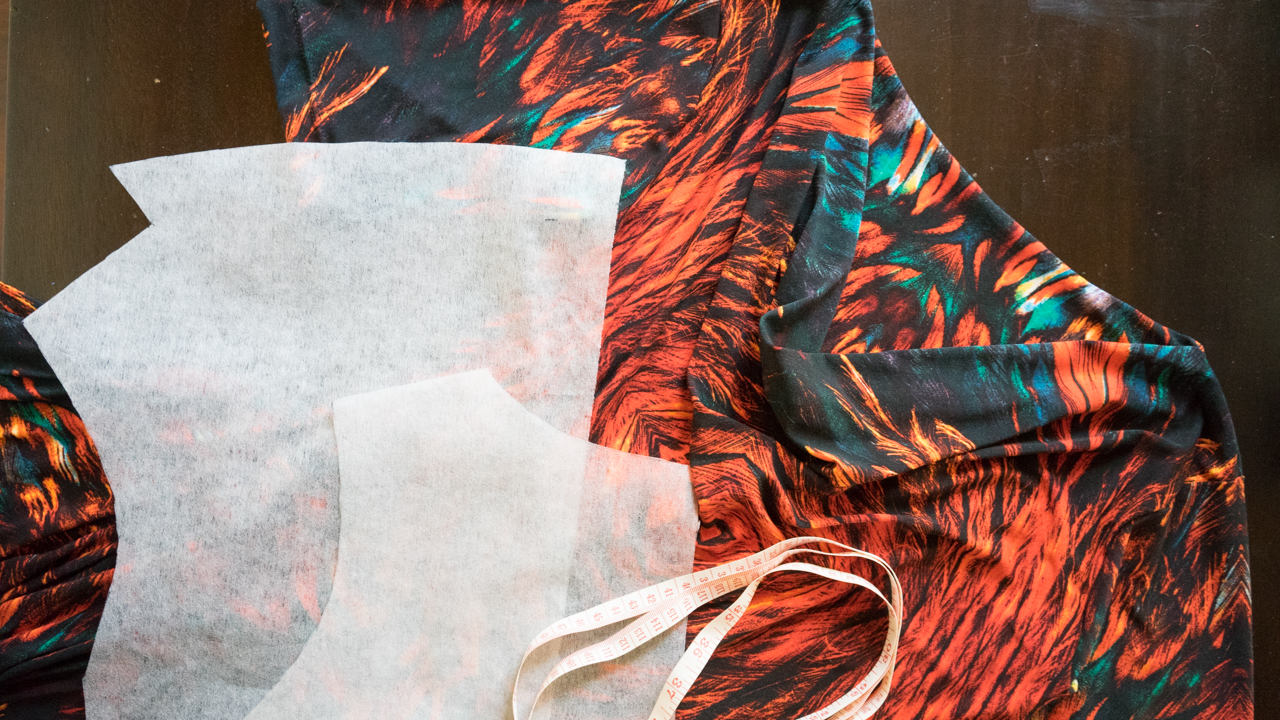
And, how boss is my lining up of the pattern? Absolutely boss. The centre of the pattern repeat for both the back and front of the bodice lines up with the pattern repeat on the skirt. And you can't see it from these images, but my sleeves are also symmetrical. The downside is that this uses up a lot more fabric than a solid, or a fabric with small pattern repeats. For reference, I purchased 3m of this fabric and the bits that remain are annoying shapes that might be able to be used for accents or highlights on other pieces, but certainly isn't enough whole bits to make another item. You might be able to get away with 2-2.5m of a 150cm width fabric otherwise.
This was also my first complete attempt at self-drafting, and it didn't go too badly. I've roughly documented the steps below if you want to try this out yourself. Bear in mind, I'm self-taught from the School of Google, so my explanations may not be amazing.
Draft the Bodice
This bit's the fun part.
- Take a top that fits you the way you want the bodice to fit and turn it inside out, and (optionally) fold it in half.
- Place this on top of the paper you'll be using to draft your pattern, and make sure the top is smooth and flat.
- Trace around the outline of the top, including allowances for hems and seams.
- When you get to the arms (if your top has sleeves), fold the sleeves gently over the body, and trace the curve of the arm hole.
- When you get to the neckline, follow the neckline even if you plan to change it.
- Repeat for the other side if you are copying your top entirely.
You now have a pattern for your bodice. If you want to adjust the neckline, redraw the neckline and make sure that when you get to the middle of the neckline, that it finishes perpendicular to the centre line. If it doesn't, you end up with a slight V at the neck.
For my dress, I used a boat-neck top to get the neckline for the back piece, and for the front I used the same piece as the base template, then adjusted it for the cowl. There are a few ways to do this, and I found this tutorial pretty informative over at Threads Magazine. But, I cheated:
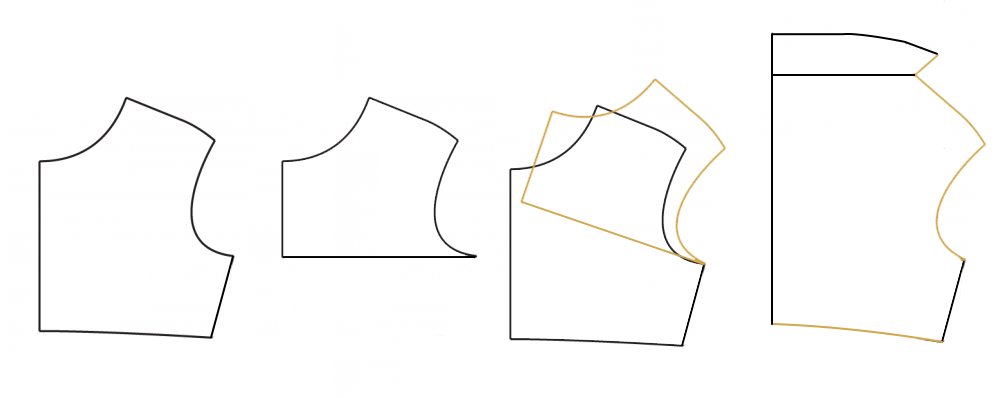
Once you have your bodice piece, fold it perpendicular to the centre line at the bottom of the arm-hole. At the arm-hole point, pivot the piece until the line from shoulder to shoulder is the length of your desired cowl. Draw a straight line from the position of the new shoulder to the centre line. That extra curved piece at the top is the self-facing, so extend a line to mirror the shoulder a couple of inches, then curve it back towards the centre line. When you assemble your bodice later, fold that piece down to sandwich your back bodice piece when you join the shoulders.
When you add a cowl you will need to 'true' your waist seam of the new bodice piece by curving a line up a bit to remove the excess created by the cowl. I haven't figured out the science of this yet, but if you don't do it, the waist will droop down when you put it on, more obviously once you attach the skirt. If you're not sure how much to trim off, leave it straight, then assemble the top first to try on and pin the amount you need to remove. That's what I did, because I'm a n00b.
You can always save yourself this headache, and just not do a cowl.

To do the sleeves, take your front and back pieces, and place them mirroring each other at one shoulder. The resulting curve of the armhole is the shape of your sleeve piece. Trace that curve, and extend the lines down the length of your desired sleeve, and taper it to the diameter of your arm at that point.
Draft the Circle Skirt
If you haven't made a circle skirt before, and can't be bothered with the calculations, use the By Hand London Circle Skirt App to work out your numbers. The length suggestions are to ensure the measurements fit your yardage, you can ignore this though, as the important bit is getting your waist radius.
Bear in mind, if you are using a knit, err on the side of smaller on the final waist radius, as the knit will stretch and you'll end up with a larger hole for your waist. I reduced my total waist measurement by a couple inches, and that was still a little generous. Start smaller as you can make that waist larger, but if you start too big, you'll have to gather the waist to bring it in.
Assembly
- Measure twice, cut once for your newly drafted pieces. If your knit is thin or sheer, you can double the bodice piece as I have for the back and use it as self-fabric lining. Which also means I don't need to do any neck seams. I didn't bother with lining the cowl as the drape would hide any bra lines.
- Sew the shoulder and side seams of the bodice and try it on. If using the cowl, adjust the drape and check out how much the front droops and pin the amount you need to trim to level it out.
- Sew the sleeve seams and attach to the bodice.
- Attach the skirt to the waist. I used knit fusible tape to stabilise the seam. I tried using clear elastic, but good grief that was a pain in the butt because it kept sticking to my presser foot. Gave up and fell back to the fusible tape.
- If you didn't use self-fabric lining, finish the neckline with your preferred method. Hem the sleeves and skirt.
- Put the dress on and twirl, you deserve it.