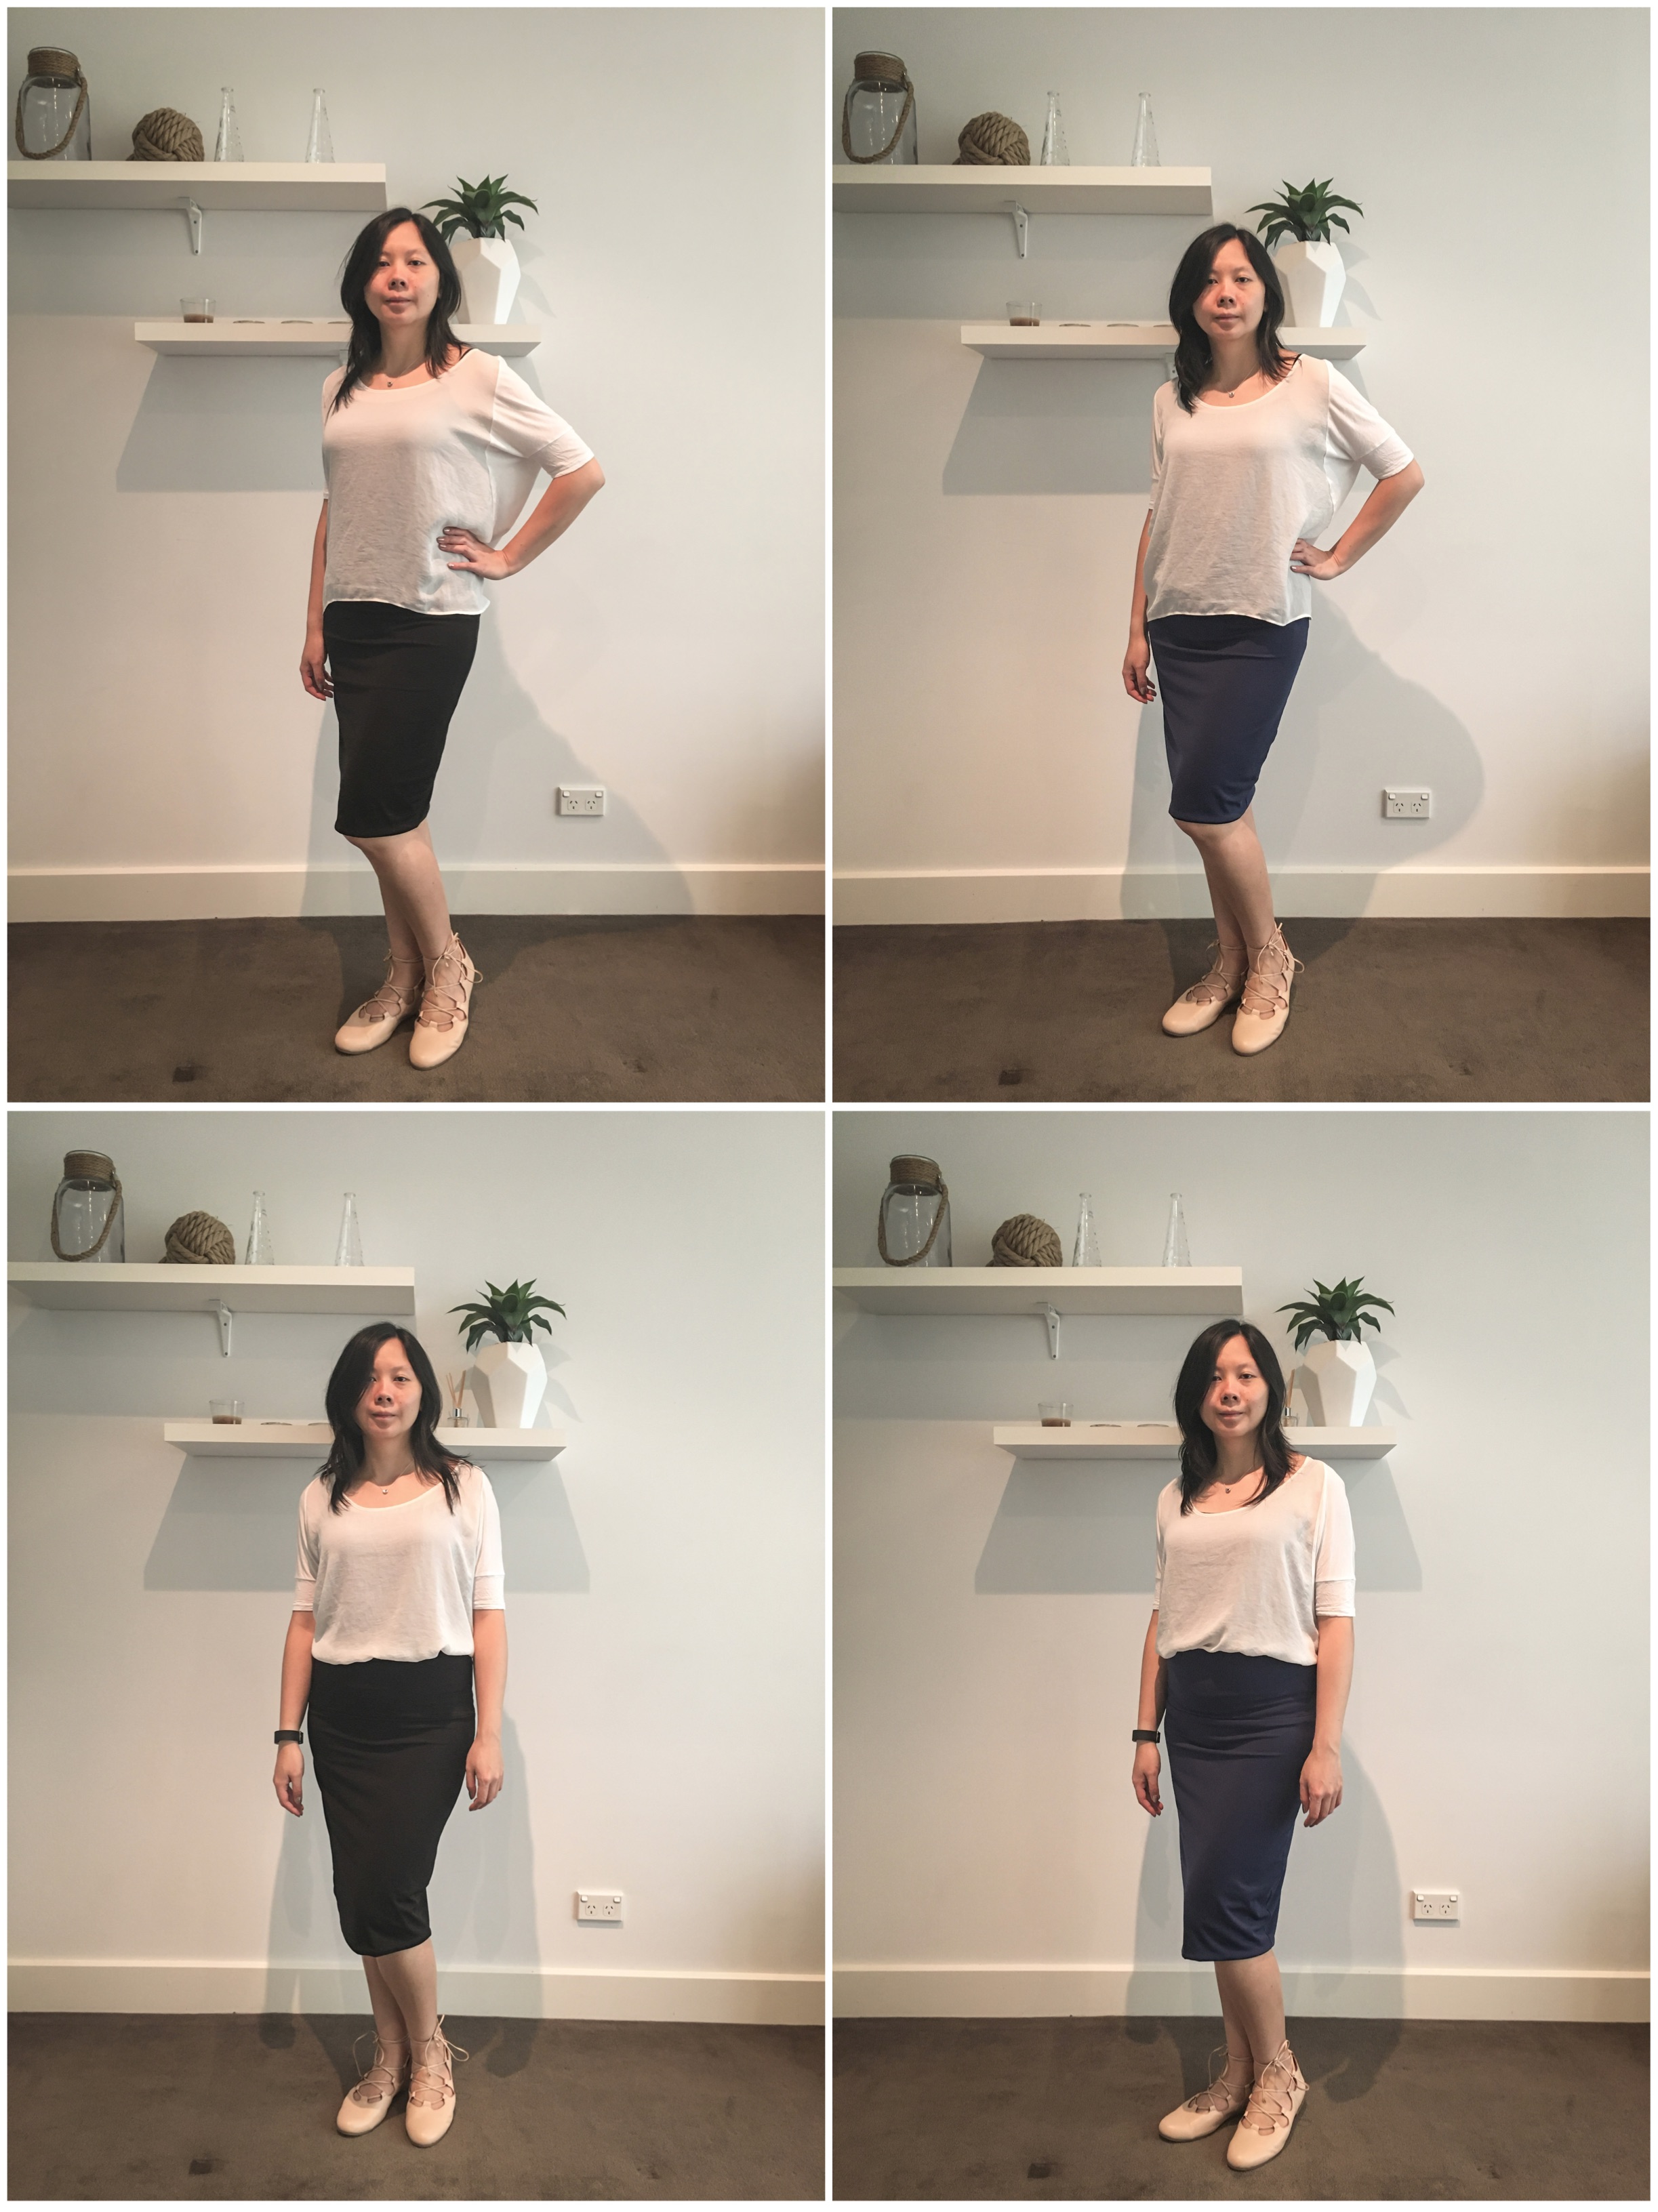
Reversible Pencil Skirt
I’ve been keen on pencil skirts for a while, but for one reason or another, I just never got one. For those of you holding back, just do it. It’s such a great wardrobe staple that’s versatile and flattering. If you’re looking for something that can be dressed up or down, try one in a stretch knit.
In my internet travels, I came across Cotton and Curls. The author Liz is creative and talented, and she generally looks fantastic in all her creations. Being tall and long legged seems to help. ;)
I was inspired by her Very easy stretchy pencil skirt tutorial to make my own pencil skirt. The idea of being able to wear it at different lengths was enticing, though I wasn’t quite brave enough to incorporate a loud print into my repertoire, and in typical me fashion, I chose to make this reversible. The construction was loosely based on this Reversible Jersey Pencil Skirt video by The Girls with Glasses, but I just wasn't a fan of the raw finishing edge for the waist seam.
STEPS
- I found a black and navy knit with a similar stretch (one metre of each), and loosely based my pattern on the instructions on Cotton and Curls. As this would be reversible, I halved the height of the waistband piece, and made the main skirt two pieces instead of one. I wanted two side seams to make it easier to taper the waist and skirt and make adjustments, but you could just do one back seam if you wish. Add seam allowances on all edges (no bottom hem allowance). Make two sets, one in each fabric. You should have eight pattern pieces.
- Sew one waistband piece to one matching skirt piece. Repeat for all pieces. You should now have four half-skirt pieces.
- Pin or baste the side seam allowance of the matching pieces. Don’t sew your final seams just yet. You should now have two (unfinished) skirts. Try these on, and make sure they fit snugly but not too tight, you need to account for the double layer of the finished product. Trim it down as needed, and add a taper to the bottom if you haven’t already. It’ll look better with a taper than square. Replicate your adjustments on the other skirt.
- Now for the weird part: Joining the two skirts. Sew both side seams of one of the skirts. Sew one side seam of the other skirt. For the final side seam, sew the side seam from the waistband down, stopping at least 10cm (4") from the bottom. Then sew the side seam from the bottom, leaving a 10cm hole. Technically this 10cm gap could go anywhere, but I chose to have it closer to the bottom where the skirt will be a little more loose.
- Slip one skirt into the other with right sides together. Pin them together around the waist opening, making sure the side seams line up. Sew the waists together. At this point you can turn the skirt inside out at the waist seam and try the skirt on to make sure the length and waist is where you want it. Make adjustments if needed.
- Turn the skirt inside out. You should have one long tube that’s twice the length of your skirt, joined in the middle at the waist, with the raw seams on the outside.
- Pin the bottom of the first skirt, to the bottom of the second skirt right sides together, making sure the side seams line up. You should now have an infinity tube. Sew this bottom seam. Stop here if you want a weird-ass inside out infinity scarf.
- Using the hole you left in one of the side seams, pull the skirt inside out so that your seams are now on the inside. You’ll go from having an infinity tube, to a pencil skirt. Magic! Try on the skirt to make sure it fits the way you like, otherwise you’ll need to turn it back inside out and adjust as needed. Hopefully you won’t need to do this, because it’s a pain in the butt.
- Press the side seam hole so that the seam allowance is on the inside. Then use a mattress stitch to close the opening.
- You now have a reversible stretch pencil skirt.
Note: I used a three thread overlocker stitch for all the seams (aside from the mattress stitch) but any stretchy stitch should do.
Lessons Learned
If you complete the side seams and make the opening at the top or bottom, you’ll end up with an infinity tube scarf. Ask me how I know this.
I hadn’t thought through the adjustable length feature of a reversible skirt. If you fold down the waist to shorten the length as in the original tutorial, you’ll see the inside colour. Not a bad thing, but it’s a different look. And it’s not terribly practical to fold it inwards, as it adds extra inner layer wrinkles.
Depending on what you plan to wear on top, it’s quite alright to just wear it high-waisted if you want to shorten it. You may need to adjust the waistband part to account for this so it's not too loose when worn higher up. But if I were to make this again, I’d just go for the shorter length for a shorter skirt.
Conclusion
I’m pretty pleased with this skirt. I may try for one side solid, one side print next time. Having a black side, while still versatile, can make me look like I’m coming from work or something.
This skirt has also made it into my carry on travel wardrobe, and I’m finding it incredibly useful. I’ll be writing about that later.

If you can’t be troubled to make your own, then pick up the EncircledEncircled Reversible Pencil Skirt. It’s pretty fab, and perfect for home or travel. I likely would have opted for this one instead, but my preference is actually to have it less fitted around the knee so my DIY suits my style more.