Tailor Pants to Fit Your Waist
Sewing is many things to me. It tickles my right-brain by giving me a creativity outlet with near instant gratification. And it tickles my left-brain because I can reverse-engineer things and solve problems. Today, it’s all about the left-brain.
Problem: I picked up a couple pairs of Banana Republic shorts in size US10 off Gumtree. I know I’m a US6-8, and rational brain told me there’s no way I’m a US10, but even including postage, they were going pretty cheap. I asked the seller for the measurements just to make sure[1], and they seemed about right. The seller was accurate. My brain wasn’t.
Solution: Figure out how to tailor a pair of shorts.
Oddly, a lot of the tutorials online cover altering jeans[2], but few cover regular pants/trousers (or shorts). Thankfully, it’s actually pretty straight forward, and not as intimidating as it seems.
Step 0: Remove Label and Belt Loops
Unpick the brand label, and if there are belt loops, unpick the one at the centre back.
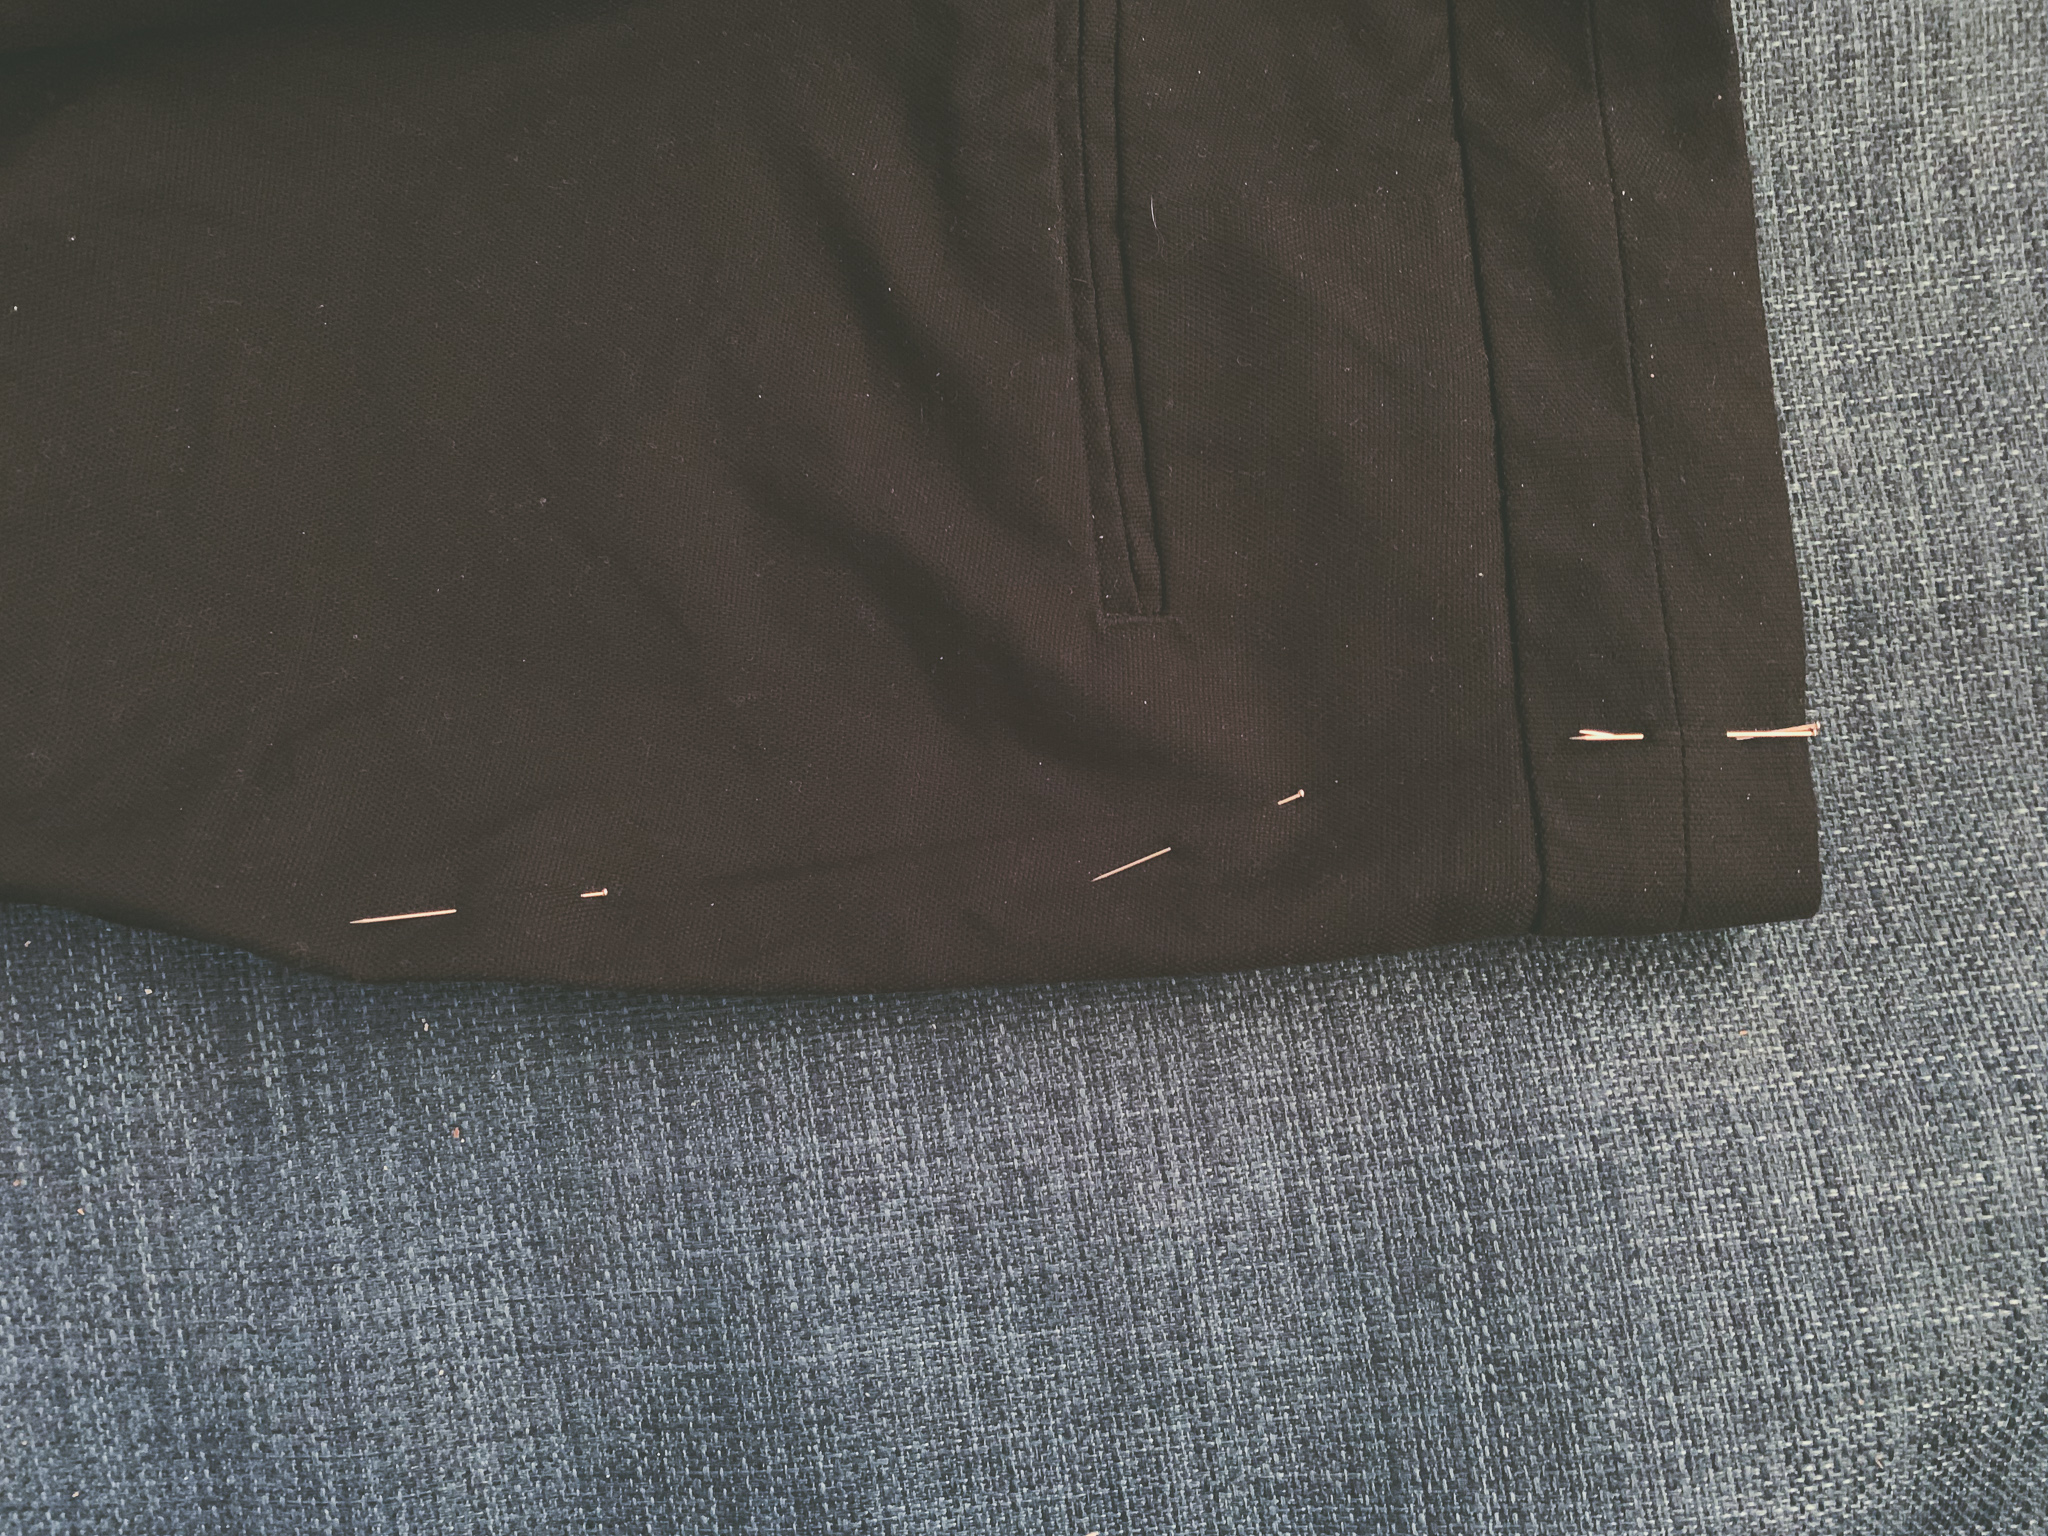
Step 1: Pin
Put the shorts/pants on, position them where you’d like them to sit on your waist or hips, and pin the excess at the waistband. Centre the fold so that it lines up with the centre back seam. There is a lot of fabric at the waistband, so you may want to use a large safety-pin, otherwise you’ll bend your pins. Work down the centre back seam, pinning (or safety-pinning) until the fit is the way you want it.
Note: It may be easier if you get someone to do this for you. Mind you don’t accidentally pin your undies.
Step 2: Transfer Pin Markings
Remove the shorts and turn them inside out, slipping one leg into the other to make it easier to access the seam.
Most of my ready-to-wear pants use some sort of chain stitching at the seam, so one side has thicker stitching than the other. If you have the triple straight stitch on your sewing machine, arrange it so the thicker chain stitch is facing up so that it blends in a bit better with the new seam stitching. If you don’t, it doesn’t matter which side is up.
The blending in is being pedantic because it’s not as though anyone is going to see your seam work. So don’t worry too much if you don’t do it.
Using tailors’ chalk or a washable marker, mark where you pinned all the way down the seam on the inside of the pants. Remove the pins, and clean up the lines, making sure the line curves smoothly back into the original seam.
Note: Ironing the seam first will make this task easier.
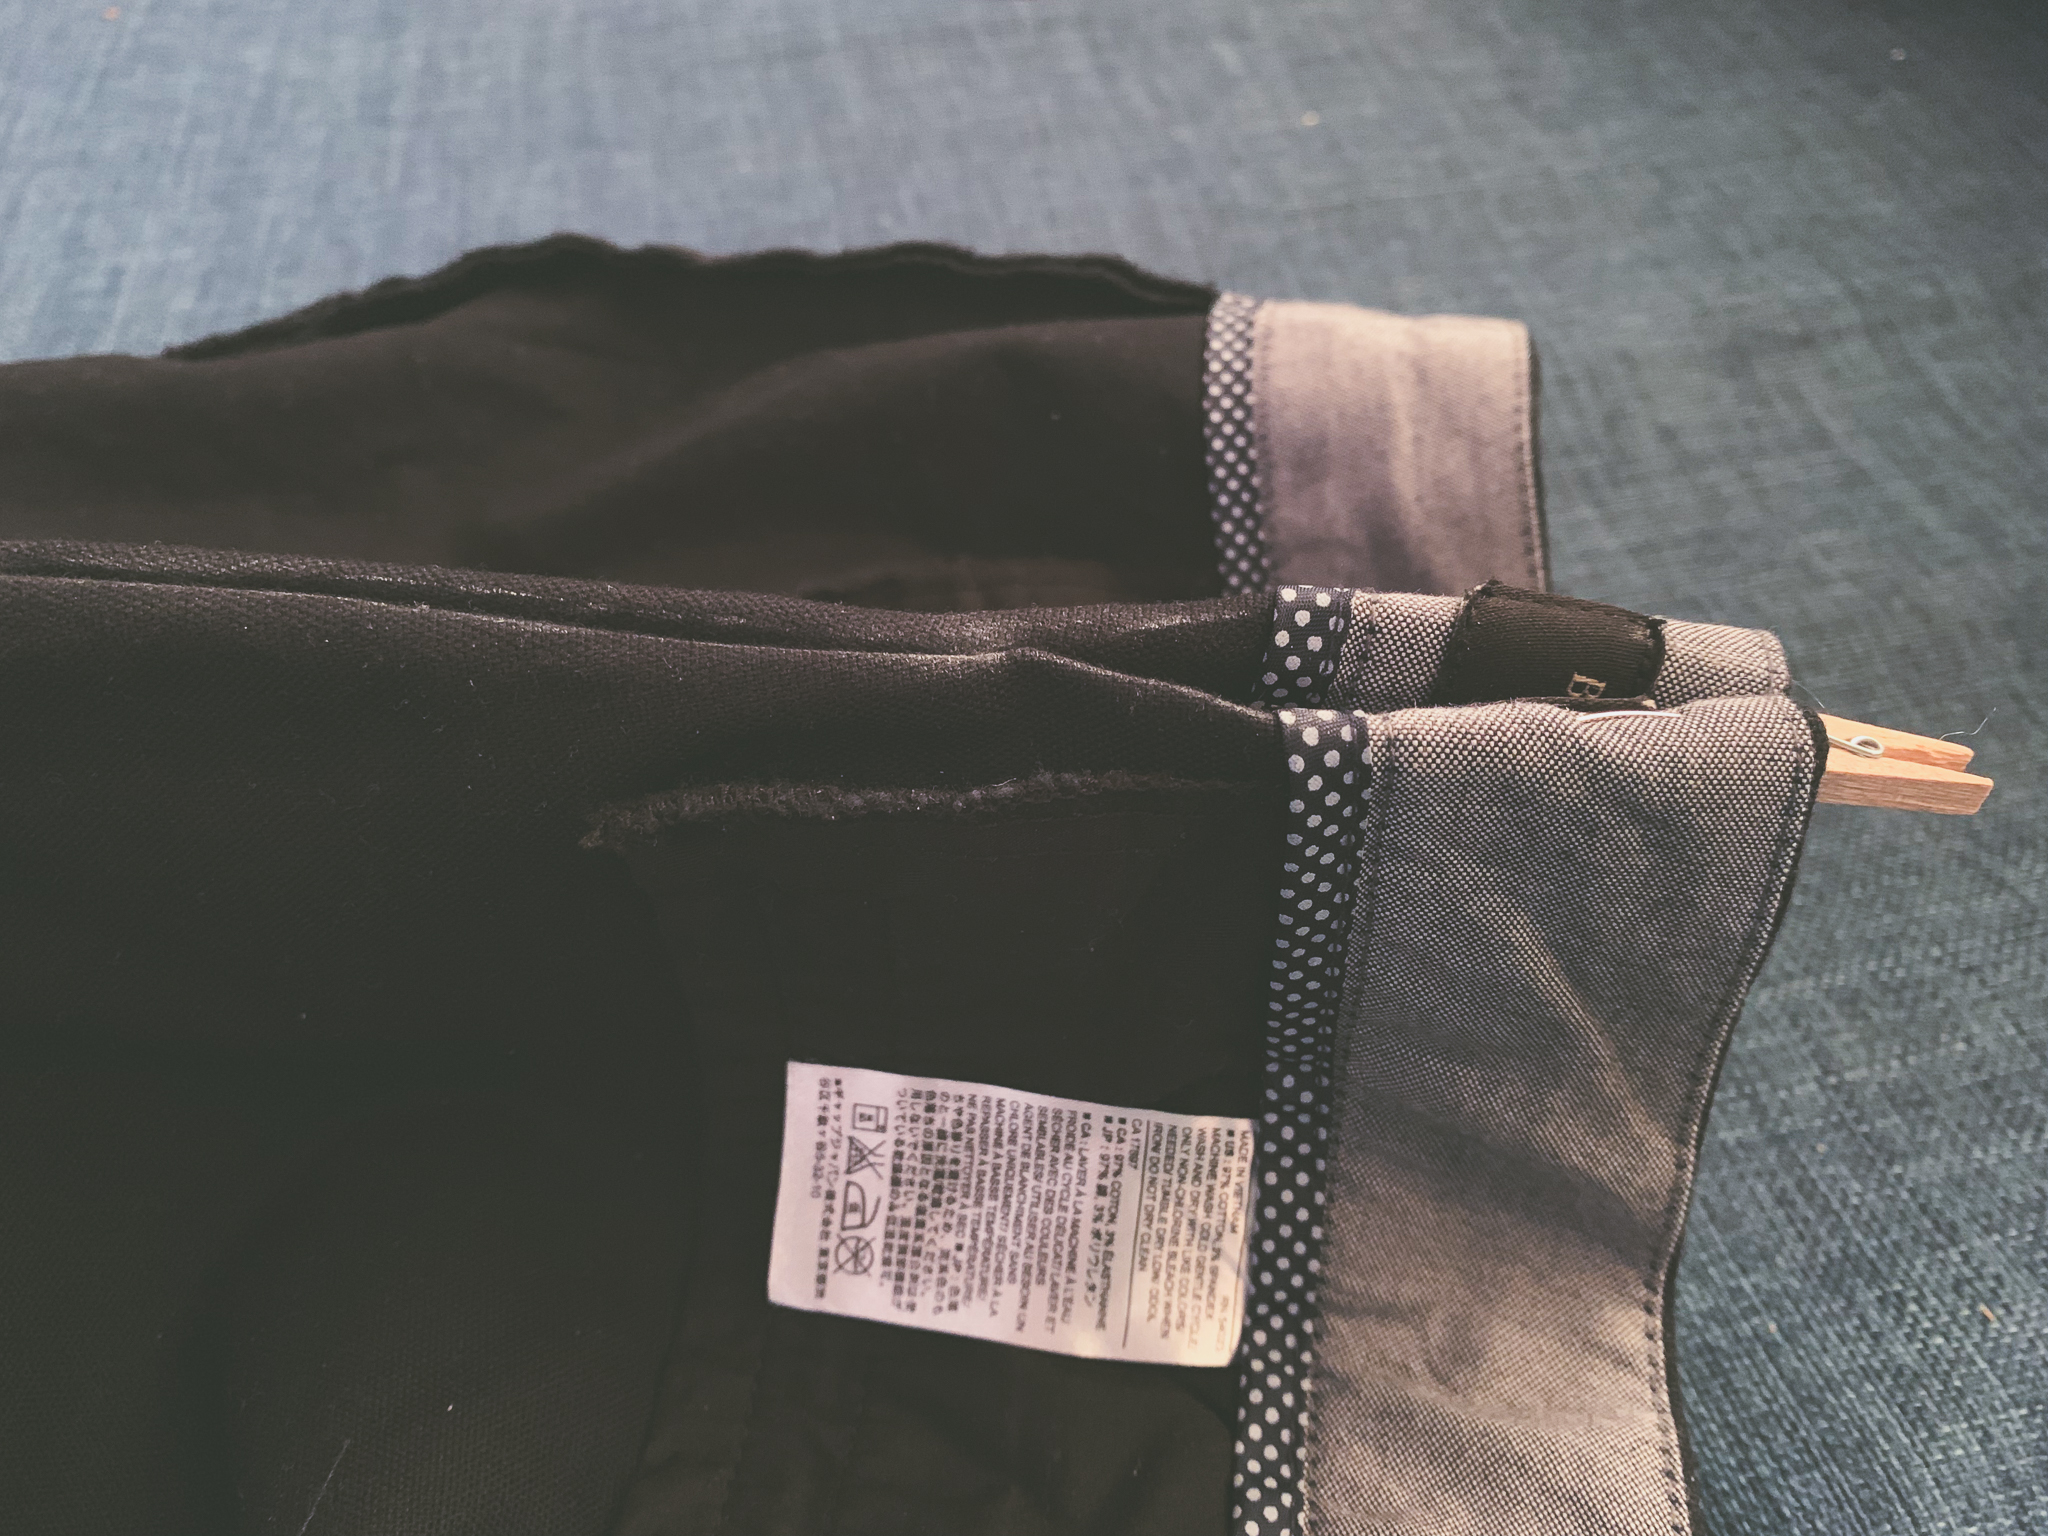
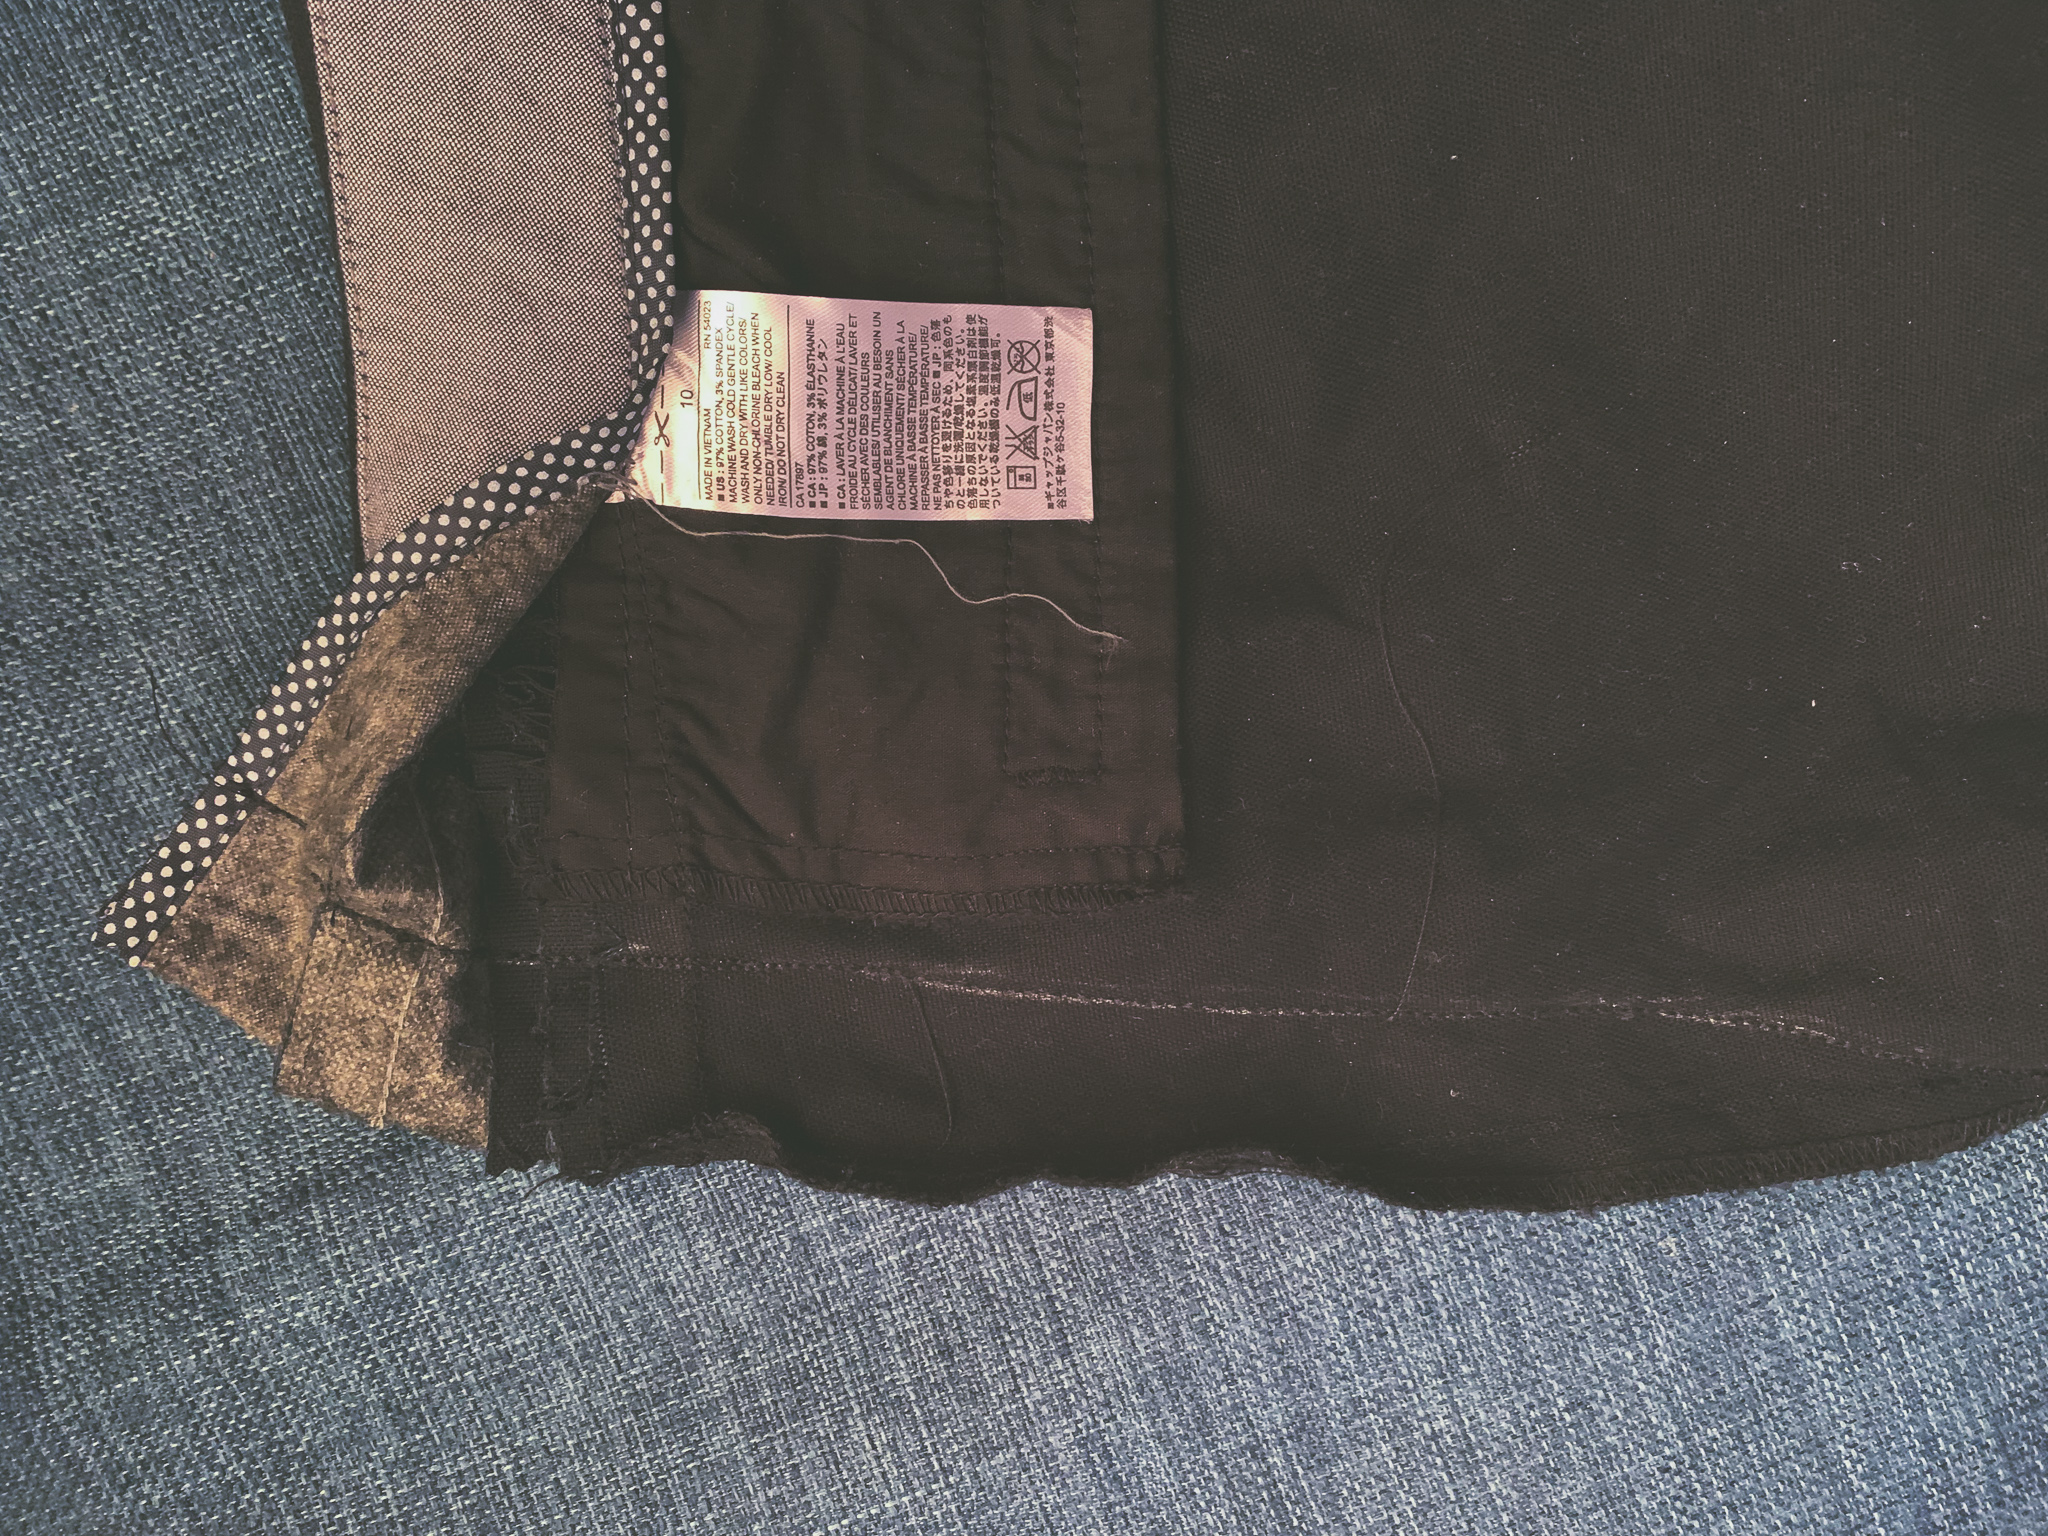
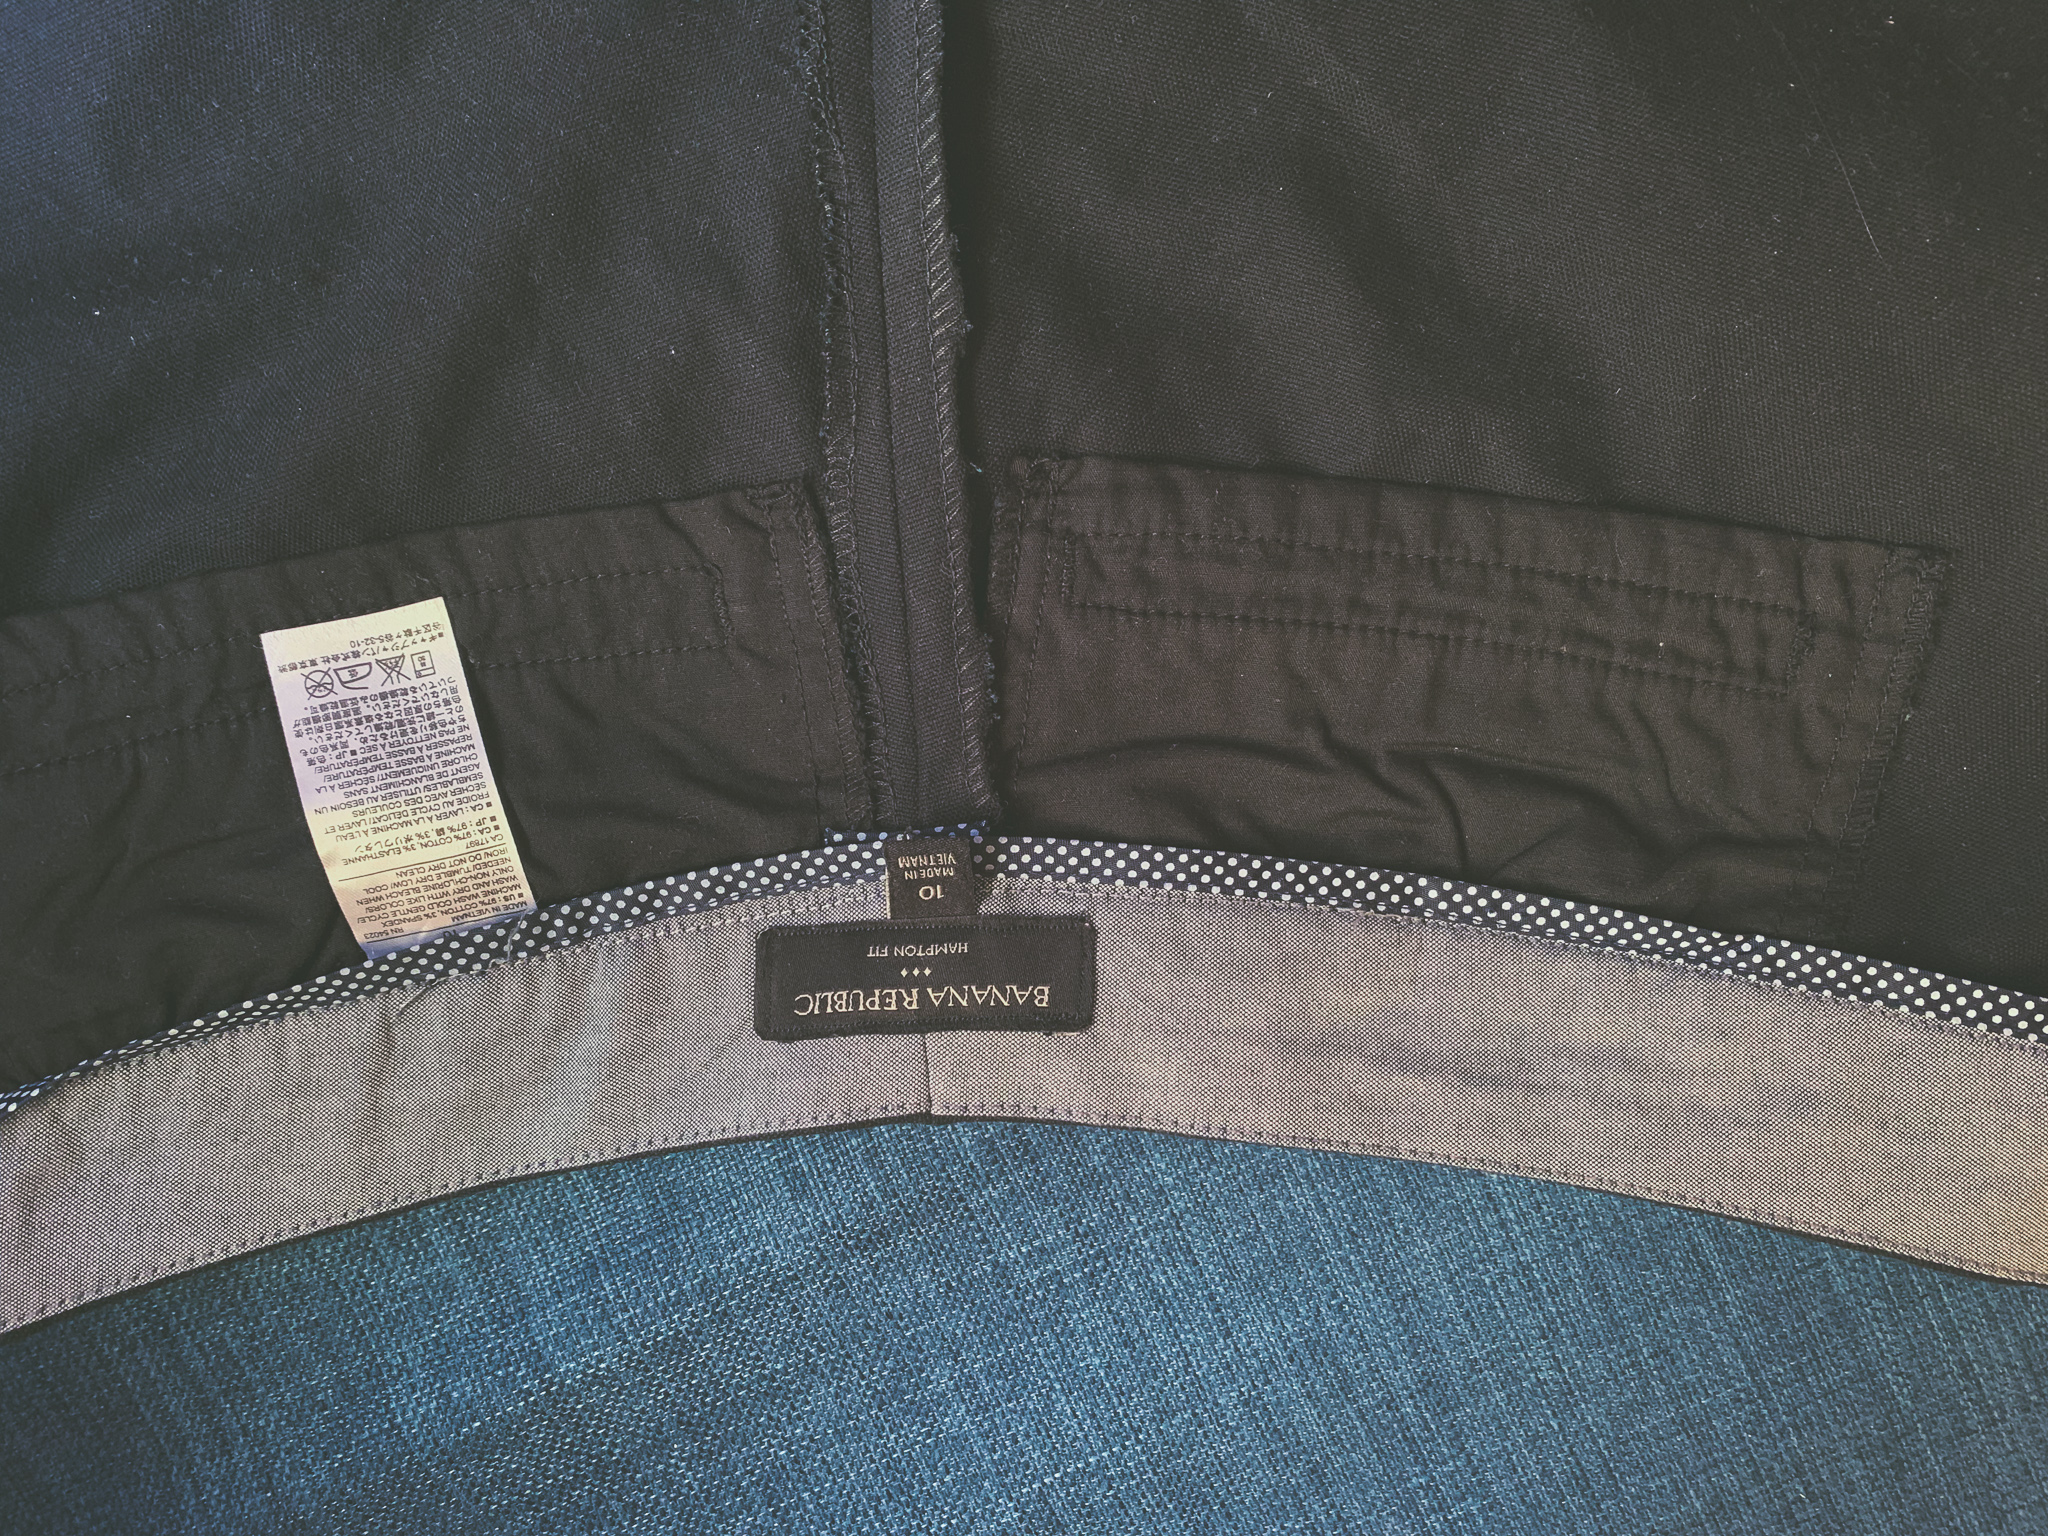
Step 3: Unpick the waistband
Unpick the waistband from the rest of the shorts from the middle to about an inch or two past your markings. You need enough room to turn the waistband up to transfer the markings onto the inside of the waistband and to sew the alteration. Unpick extra if you need to.
On these shorts I only needed to unpick the inside to turn it up, and it left the waistband attached to the rest of the shorts. Depending on the construction, you may have to unpick both the inside and outside so the waistband ends up separated from the rest of the pants.
Iron the pants as well as you can to flatten the waistband, then transfer the line straight all the way to the top. This image was before I transferred the line up through the waistband, sorry.
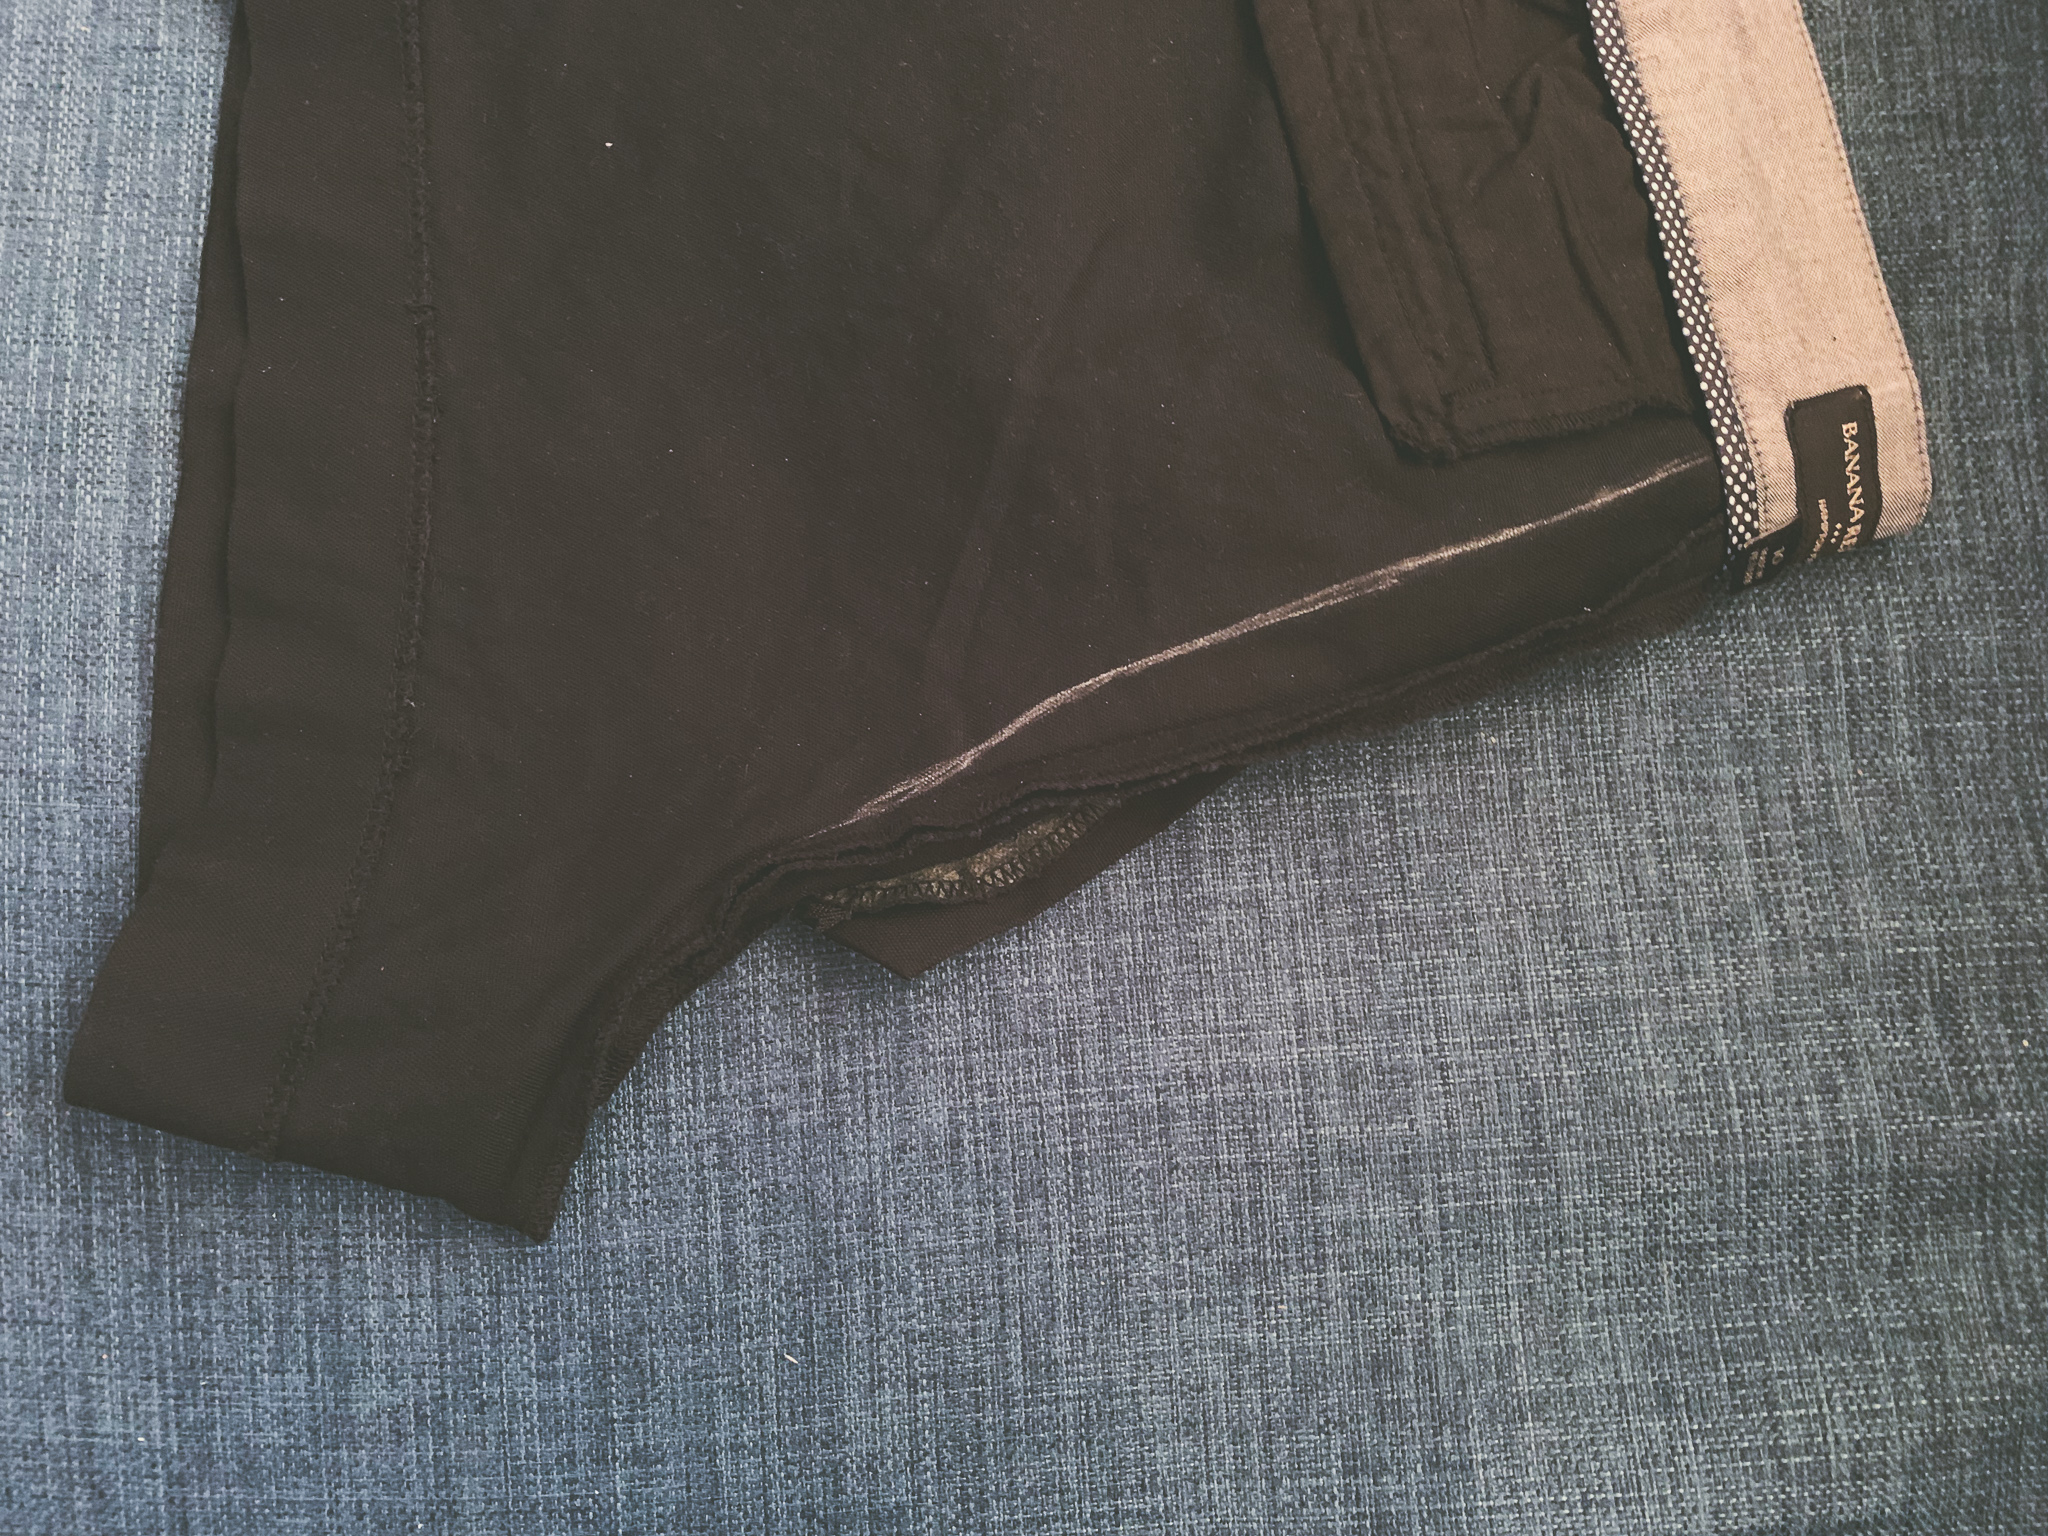
Step 4: Sew the New Seam
Press the pants as best you can to flatten where you will be sewing, then pin the marked line. If there are other seams or joins perpendicular to the seam, make sure those line up as well to ensure a good finish.
Set your sewing machine to triple straight stitch and sew starting from the crotch end of the marked line up to the waist. Overlap the original crotch seam by a couple of centimetres, and go slowly over where you pinned to keep it lined up. On my shorts, as the waistband remained connected, I only needed to make the one new sew-line up the centre seam and into the waistband. If your waistband was separated, you’ll need to sew the waistband as well.
If you’re not confident about your pinnings, baste the line by hand or with a long single straight stitch first and try the shorts on for fit.
I tried to draw a line along the stitching to enhance it digitally, but that just made a crazy non-straight line. It really did follow the marked line though.
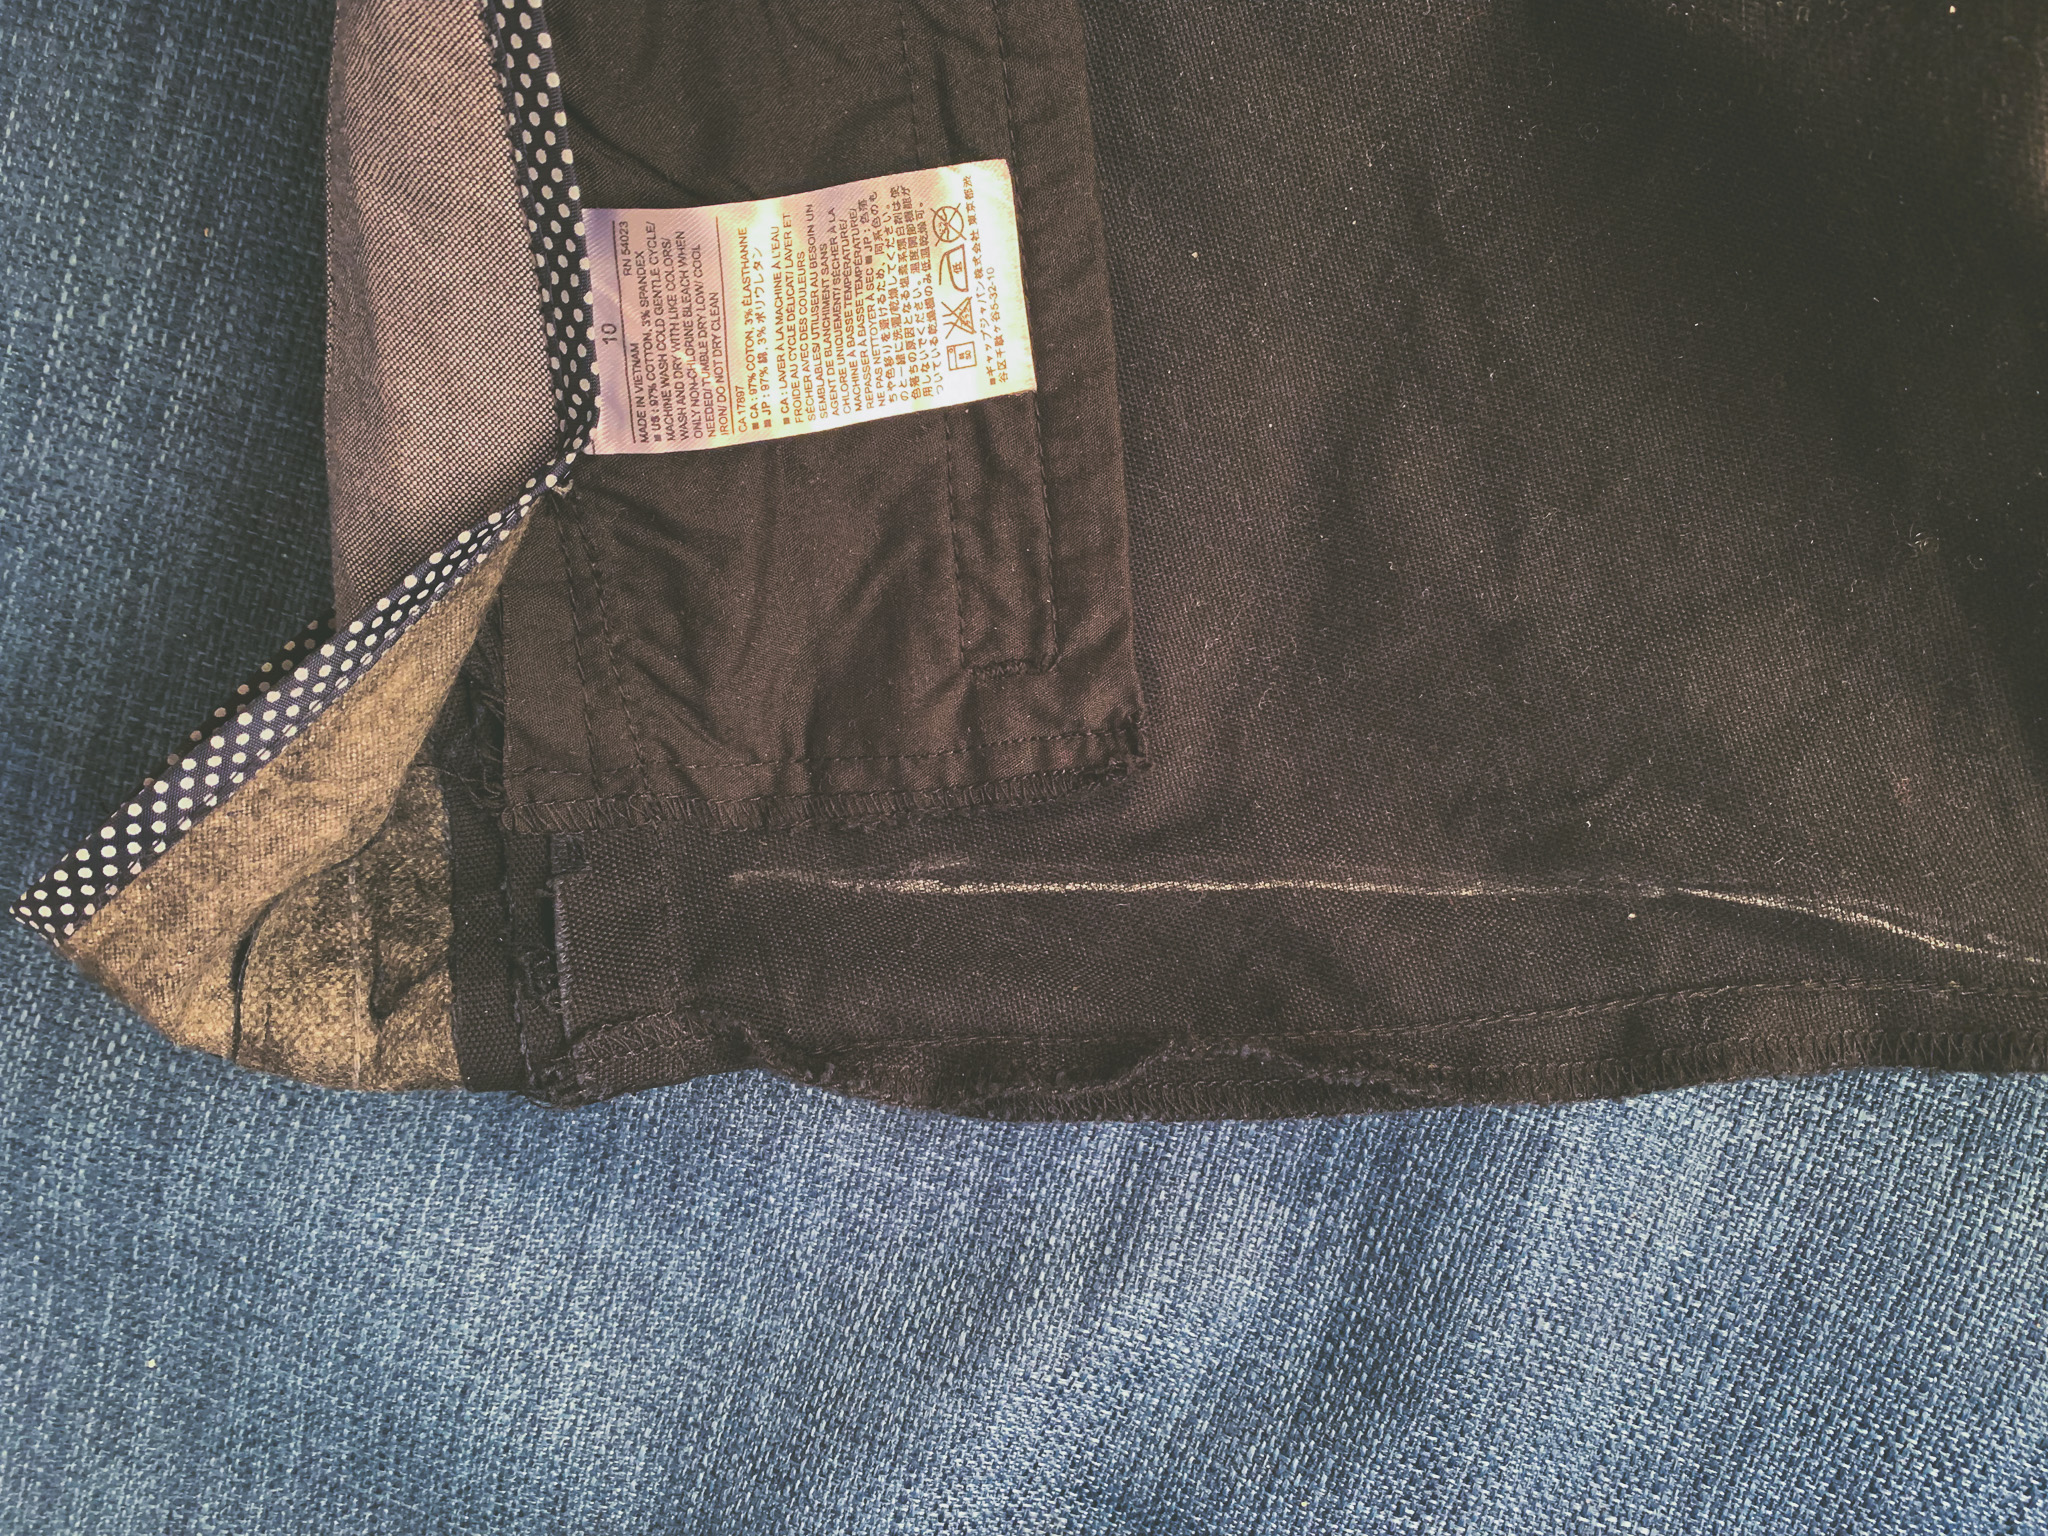
Step 5: Cut
This is the point of no return. Once you’re happy with the new seam line, unpick and/or cut the waistband and old seam line.
Serge or otherwise finish the new raw edge to prevent fraying, and press the seam open.
Step 6: Reattach the Waistband
If you want to restore the label, do it now.
Optional: As my waistband stayed in one piece, I also clipped the seam on either side of the top fold to reduce bulk.
Then, pin the waistband back onto the shorts, trying to line up the inside and outside of the waistband as much as possible along the original stitch line. For my shorts, the waistband was reattached by stitching in the ditch. Otherwise, follow the original stitch lines that were unpicked. If you removed a belt loop, reattach it.
Put your newly altered shorts on, and marvel at your handiwork.
Notes
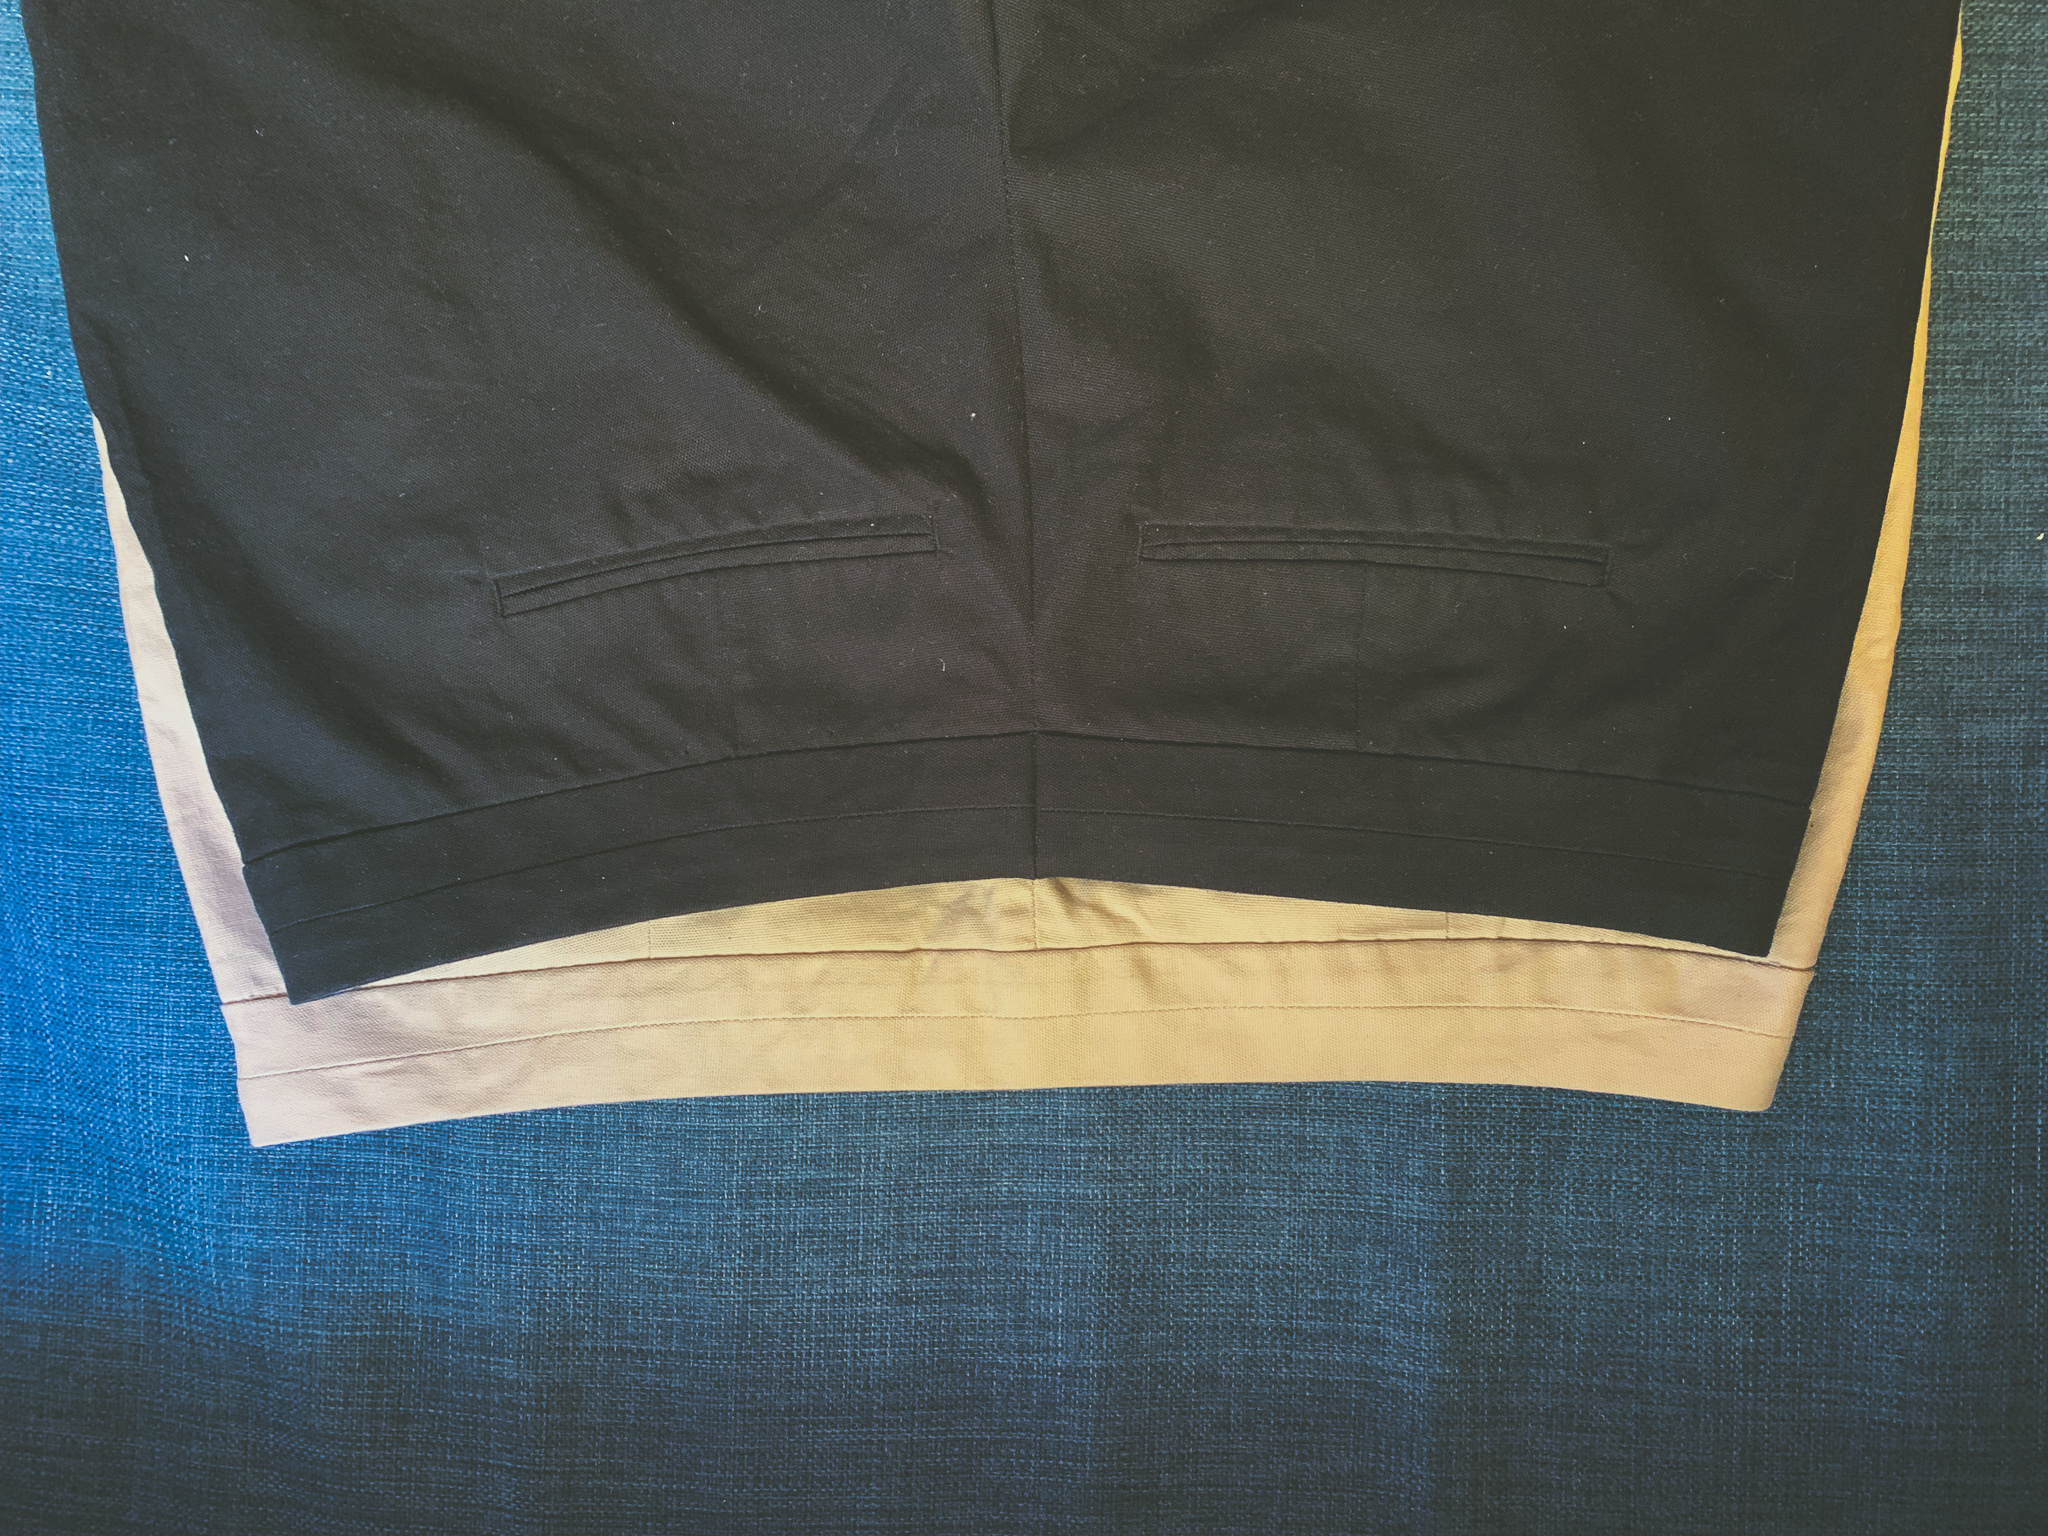
My alteration took off about 1.5-2” in total. The back and front pockets still look okay, I think[3]. How much you can reduce the waistband by will probably depend on the positioning of the back pockets. Also, depending on the cut, if you pull too much towards the back as a result of the reduction at the centre back, the front pockets may also end up not sitting neatly. YMMV.
If you have multiple pairs of pants in the same brand and size to alter, don’t be tempted to just transfer your lines and measurements to each. Pin each one from scratch. In multiple cases, I’ve found the same item of clothing in a different colour of fabric will fit differently. Even between these two pairs of shorts, there was a half inch difference in alteration (one black, one beige). It’s less likely to be a problem if it’s the same colour, but I wouldn’t risk it.
[1] I’m hopelessly optimistic.
[2] Likely a highly useful thing to want to do. I personally have wanted to alter my own jeans but I can’t bring myself to have to sew through that many layers of denim. Perhaps one day when I am finally fed up with having slightly less than optimal waist fit in my denim.
[3] The keen eye will note that they’re not symmetrical. I was interested to note that they weren’t symmetrical to start with either.