Replace the Strap on a Fitbit Charge HR
Hubby and I have collectively gone through 4 Fitbits in 3 years. We’re unlikely to buy another Fitbit again.
Hubby’s first Fitbit Charge HR lasted about 8 months before the strap started bubbling and peeling. My first Charge HR lasted just outside of warranty before the same thing happened. Hubby’s was replaced under warranty, and when I reported mine as a matter of feedback, they replaced mine as a goodwill gesture.
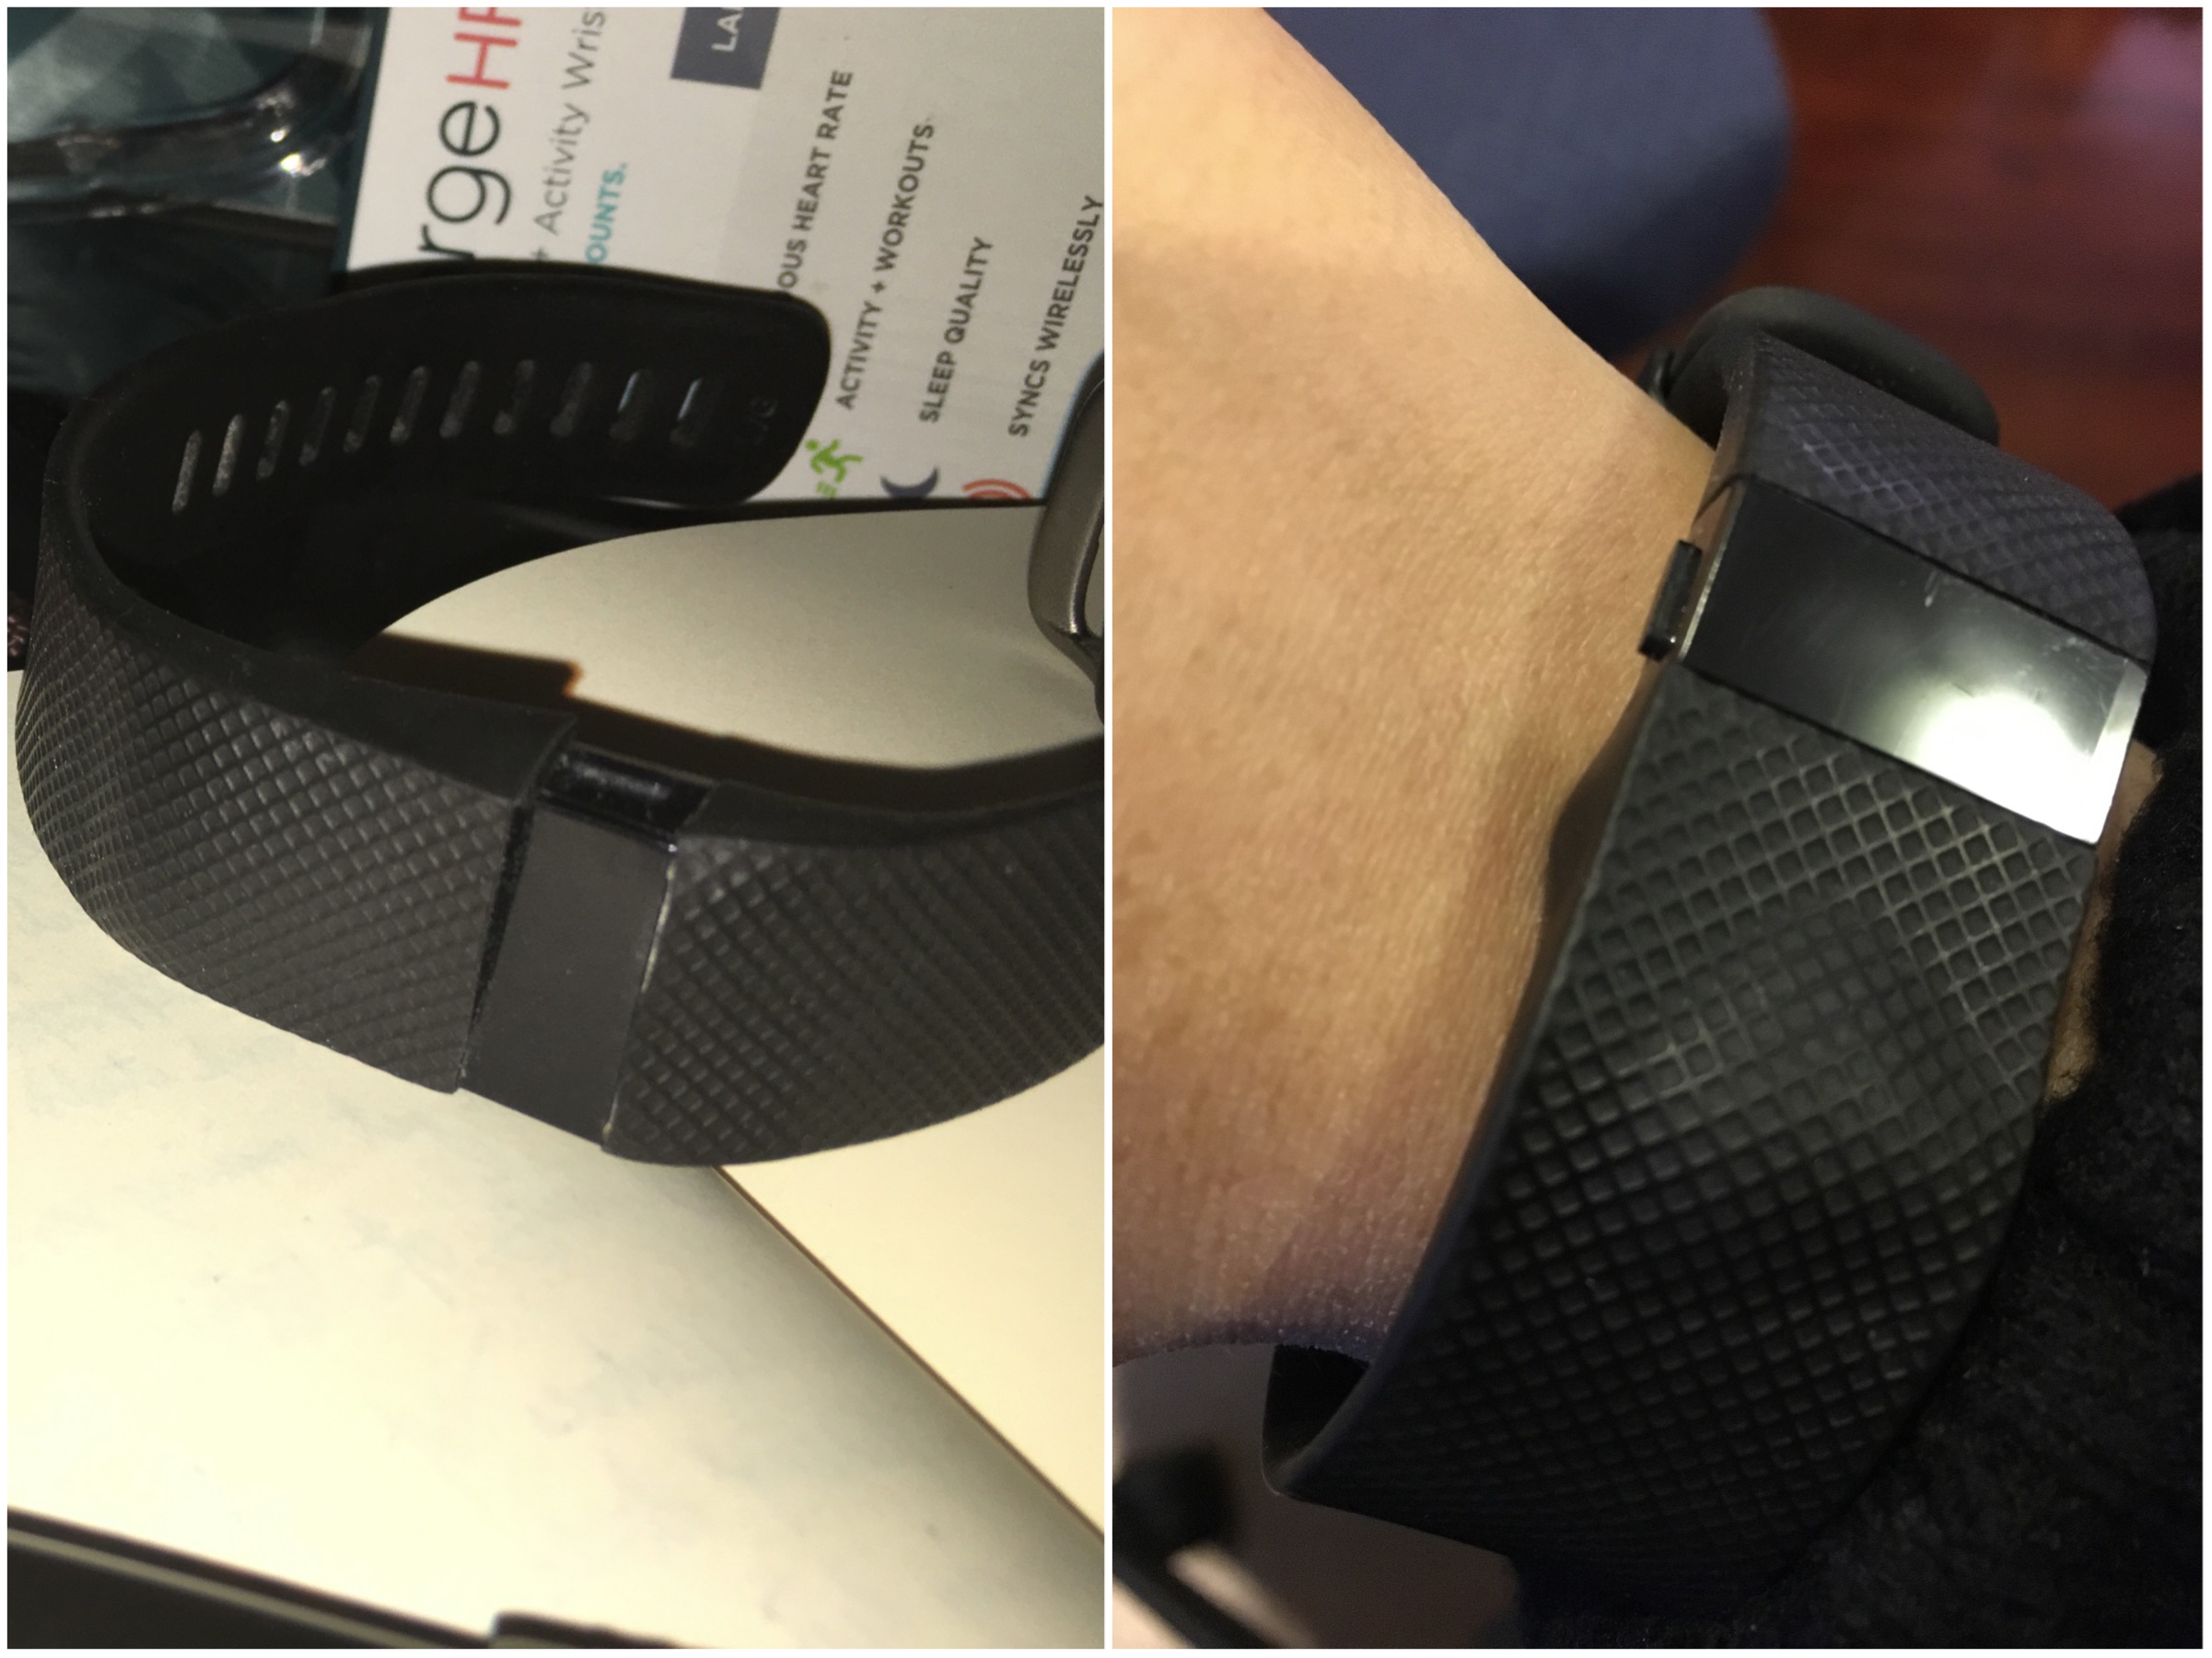
Our second Fitbits lasted about 7 and 9 months before the same thing happened again. Fitbit had advised that they would no longer replace them as it was outside the 12 month warranty period of the first Fitbit.
We ordered ours online through an Awards program, so any warranty claims need to go through Fitbit directly. Had we purchased from a physical shop, subsequent replacements would be covered under the warranty of the new device and not the original purchase. So, bit rubbish there, Fitbit.
After the second lot of peeling and bubbling straps, I learned that this is a known issue with the Charge HRs, and that Fitbit’s replacement policy is somewhat inconsistent. Some people were getting their Fitbits replaced even out of warranty of the original purchase, others would simply be offered a discount on their next Fitbit purchase. Which is a bit rich considering it’s a known issue on a device that consistently shows damage within the standard warranty period.
Rubbish as that is, even after the strap dies, the devices are still perfectly functional, and it seems like a waste to just ditch them. If you’ve seen some of my other posts, you’ll know how I feel about mending and repair.
Fortunately, there are an endless number of suppliers on eBay and Aliexpress for replacement Fitbit Charge HR straps. Being such a common issue, it was unsurprising that someone realised there was a market for off-brand repair kits.
They’re pretty cheap and come with the tools you need to perform the repair yourself.
Step 1: Remove the screws
Use the star shaped screwdriver to remove the four screws that will attach the device to the strap.
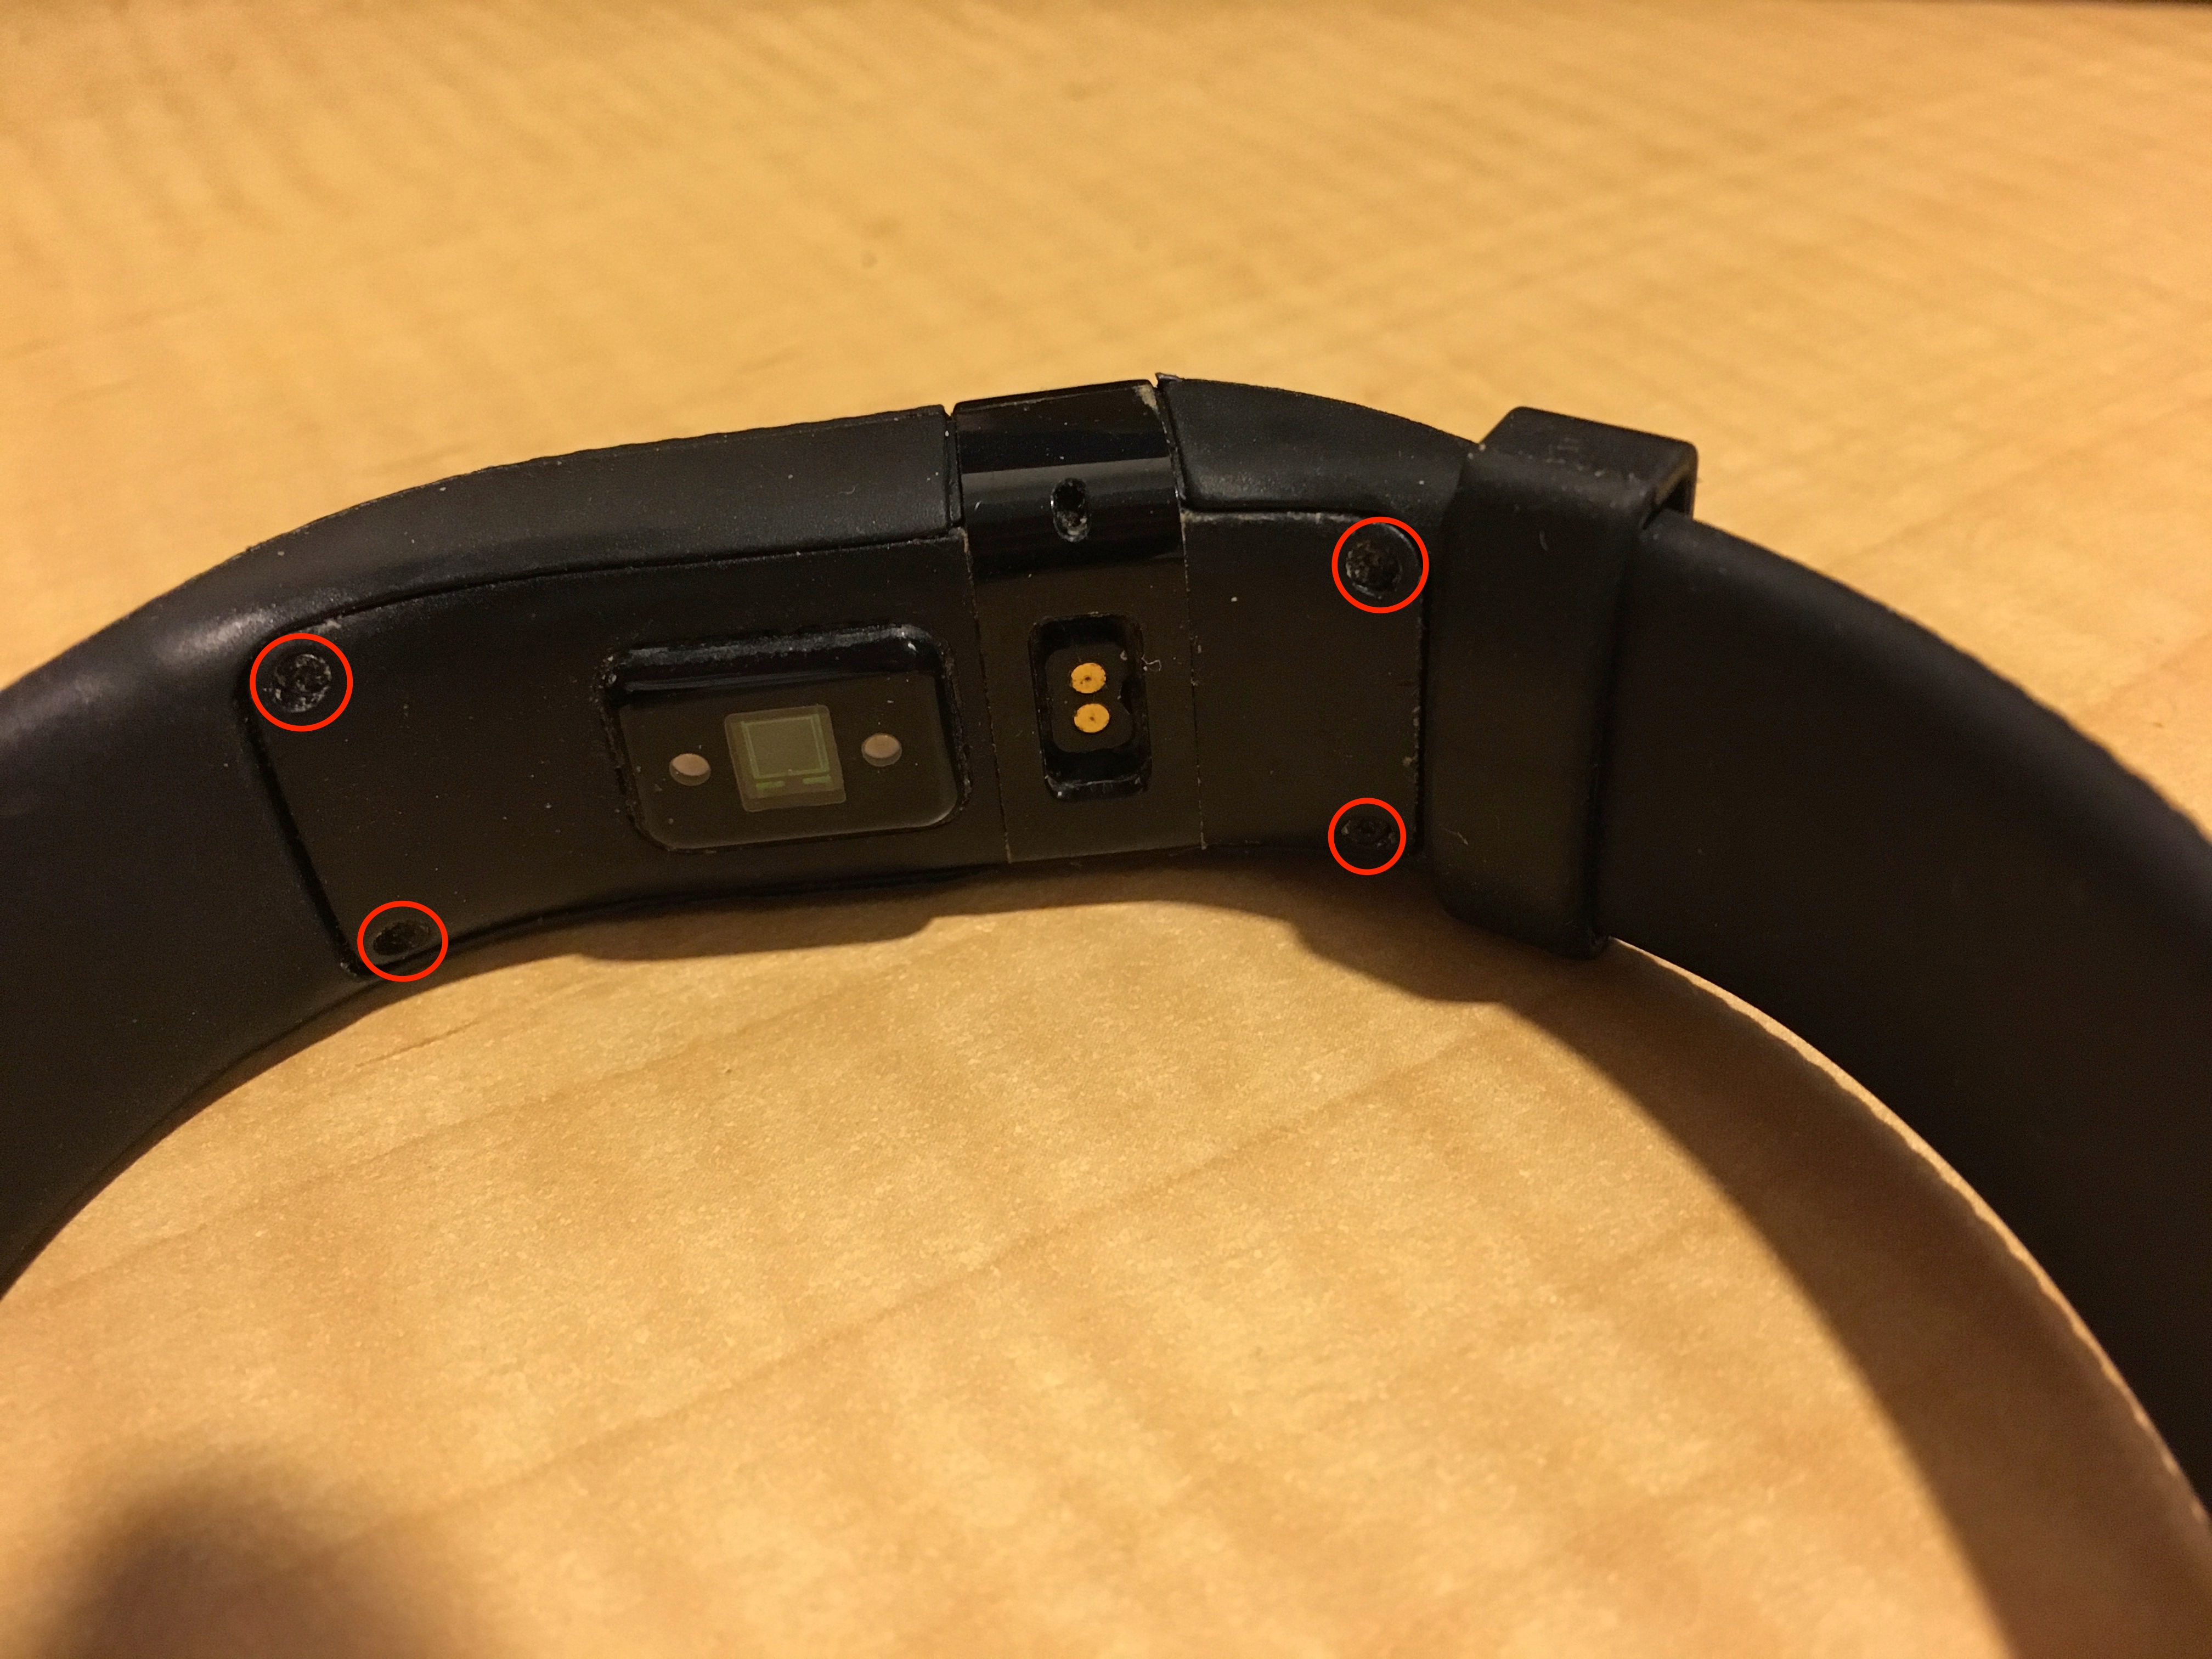
Step 2: Remove the device from the strap
There are little clips on the device that you will need to release to get the device out of the strap housing. The triangular spudger that comes with the replacement strap can be used to pop it out.
Slide the spudger down the long sides of the device on either side of the sensor and below the charging port, and use your fingernail or a small flat screwdriver to ease the device out of the strap housing. Work slowly and gently around the edge until it just pops out.
If, like mine, your rear bracket that holds the charging cable in has popped off, you can superglue this back on. I’m sure something like this voids warranty, but odds are if you’re reading this, Fitbit has probably abandoned you as well and it’s not going to be an issue.
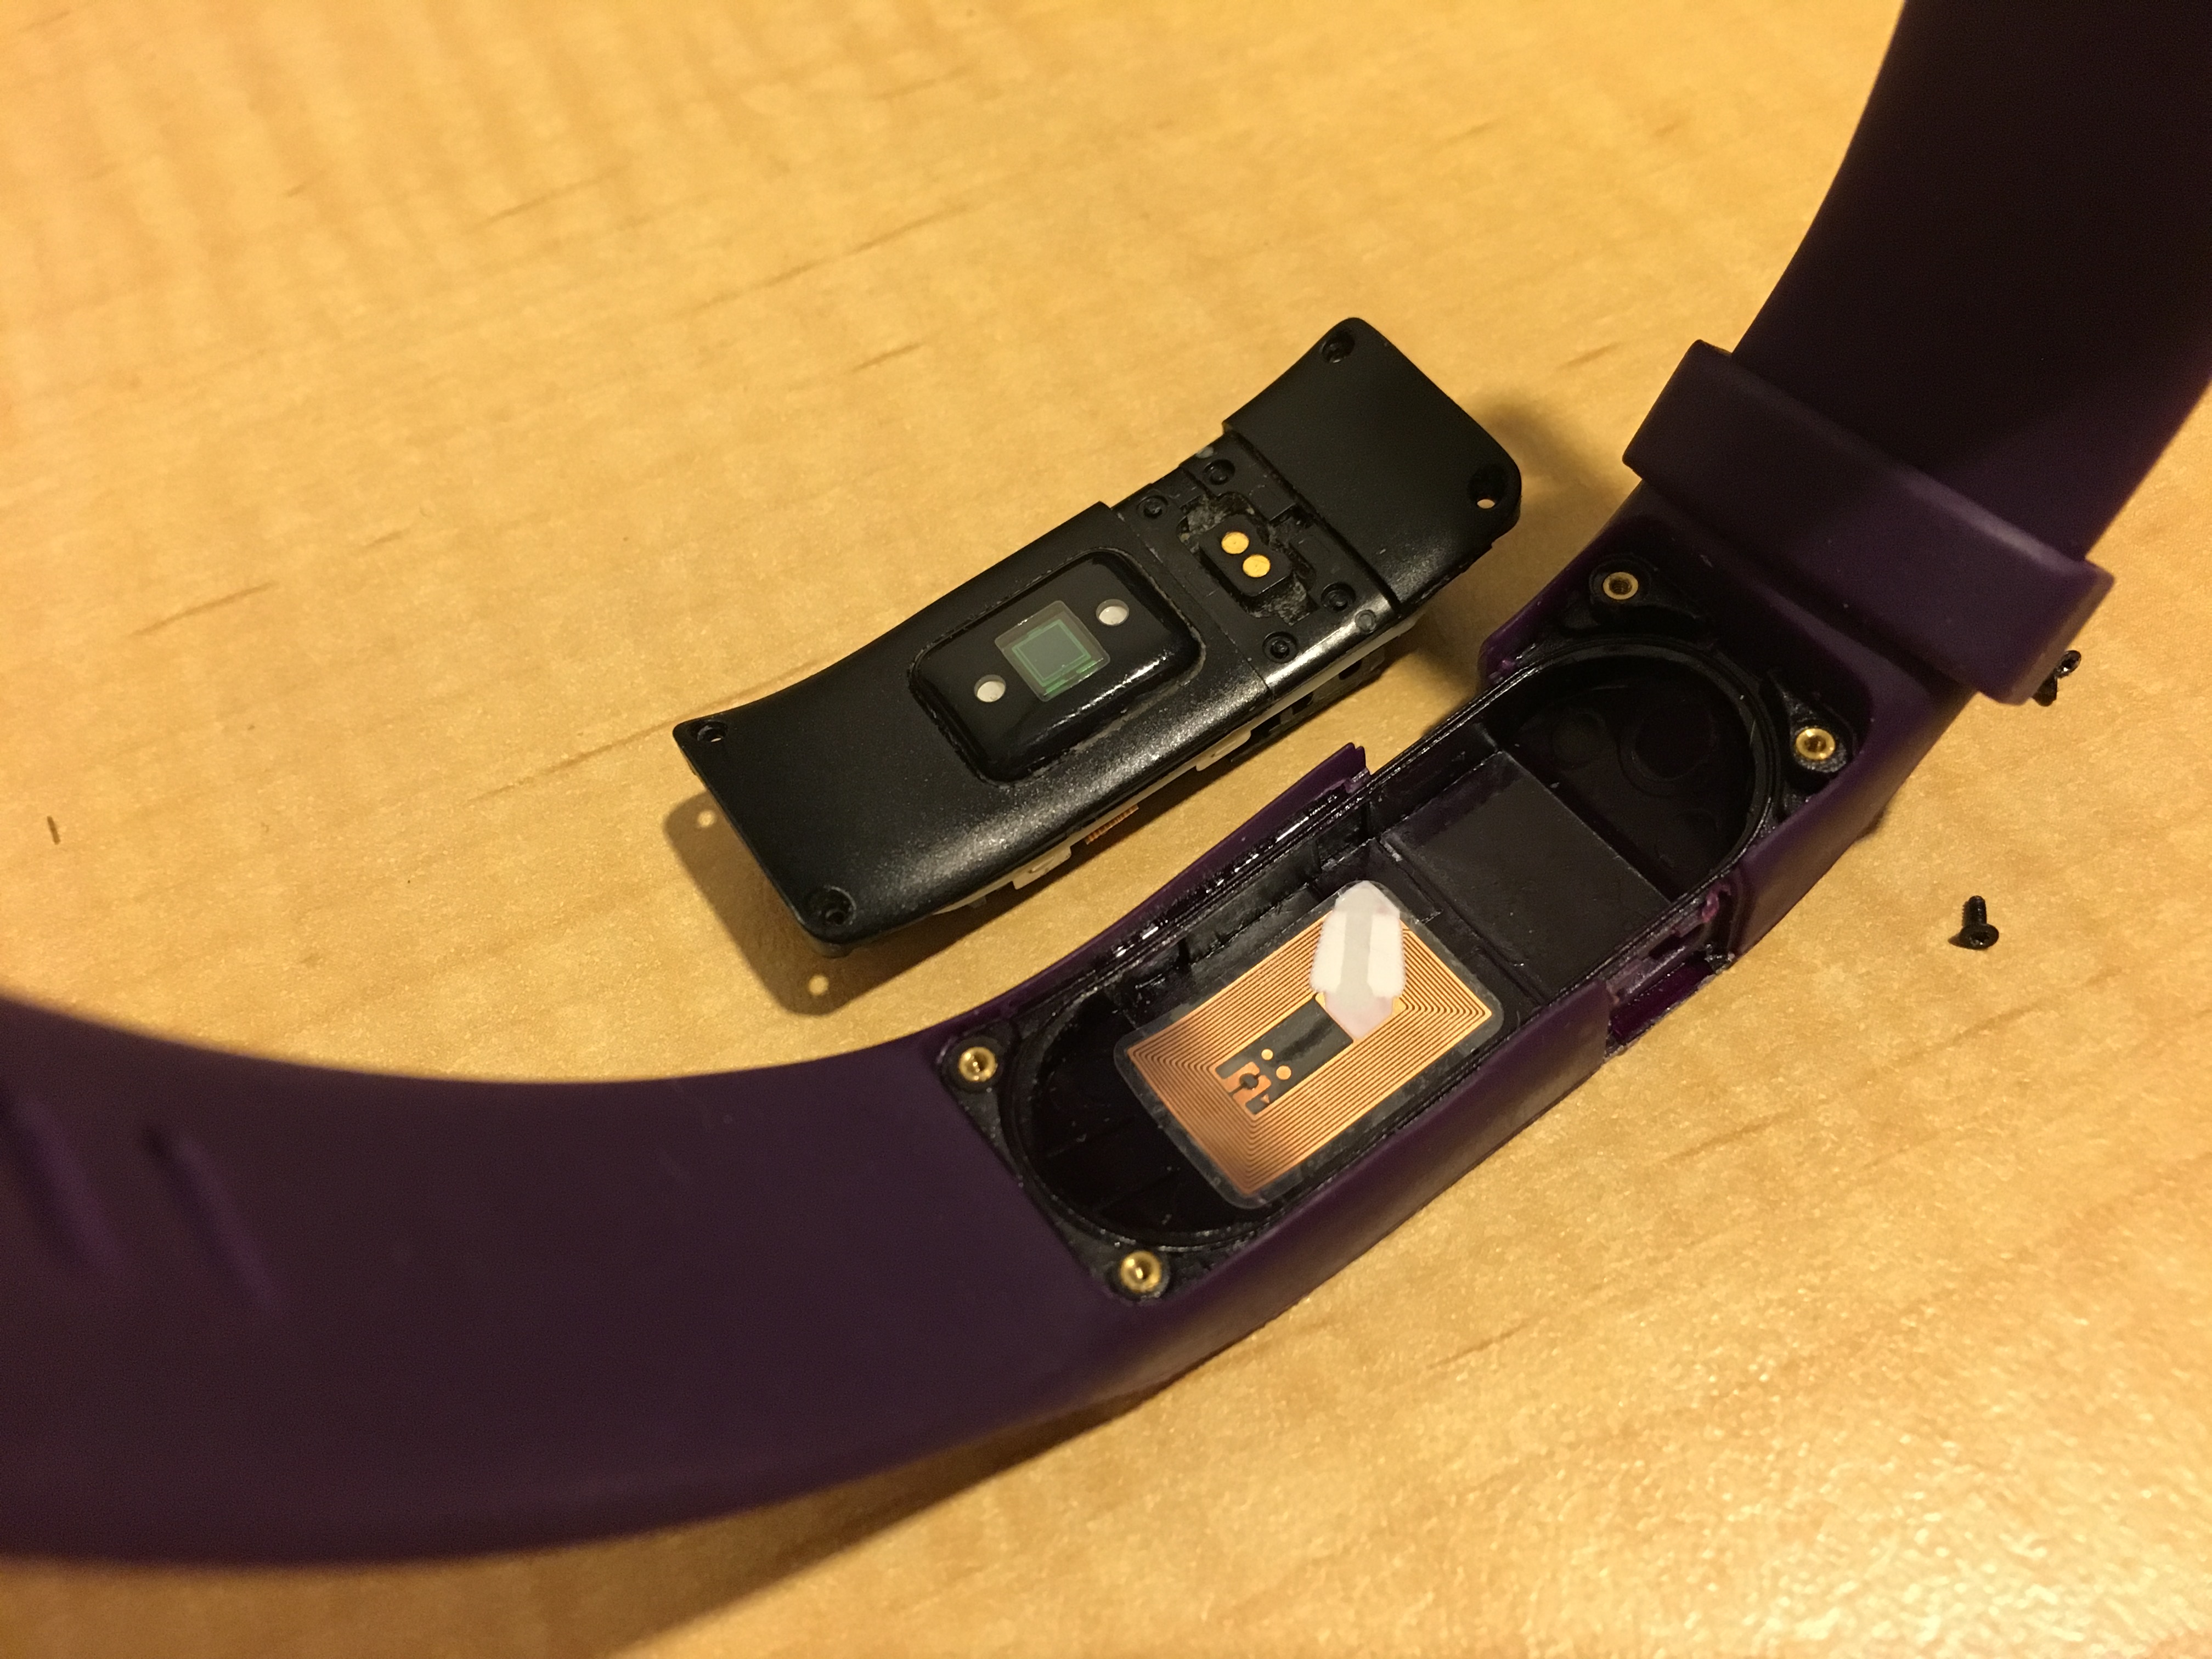
Step 3: Transfer the NFC film
Once the device has been removed, you’ll see the NFC film inside the strap housing. You can see this in the previous image. Gently peel this off and stick it in the new strap housing in the same spot. Take care not to cover the screen window.
Step 4. Transfer the device
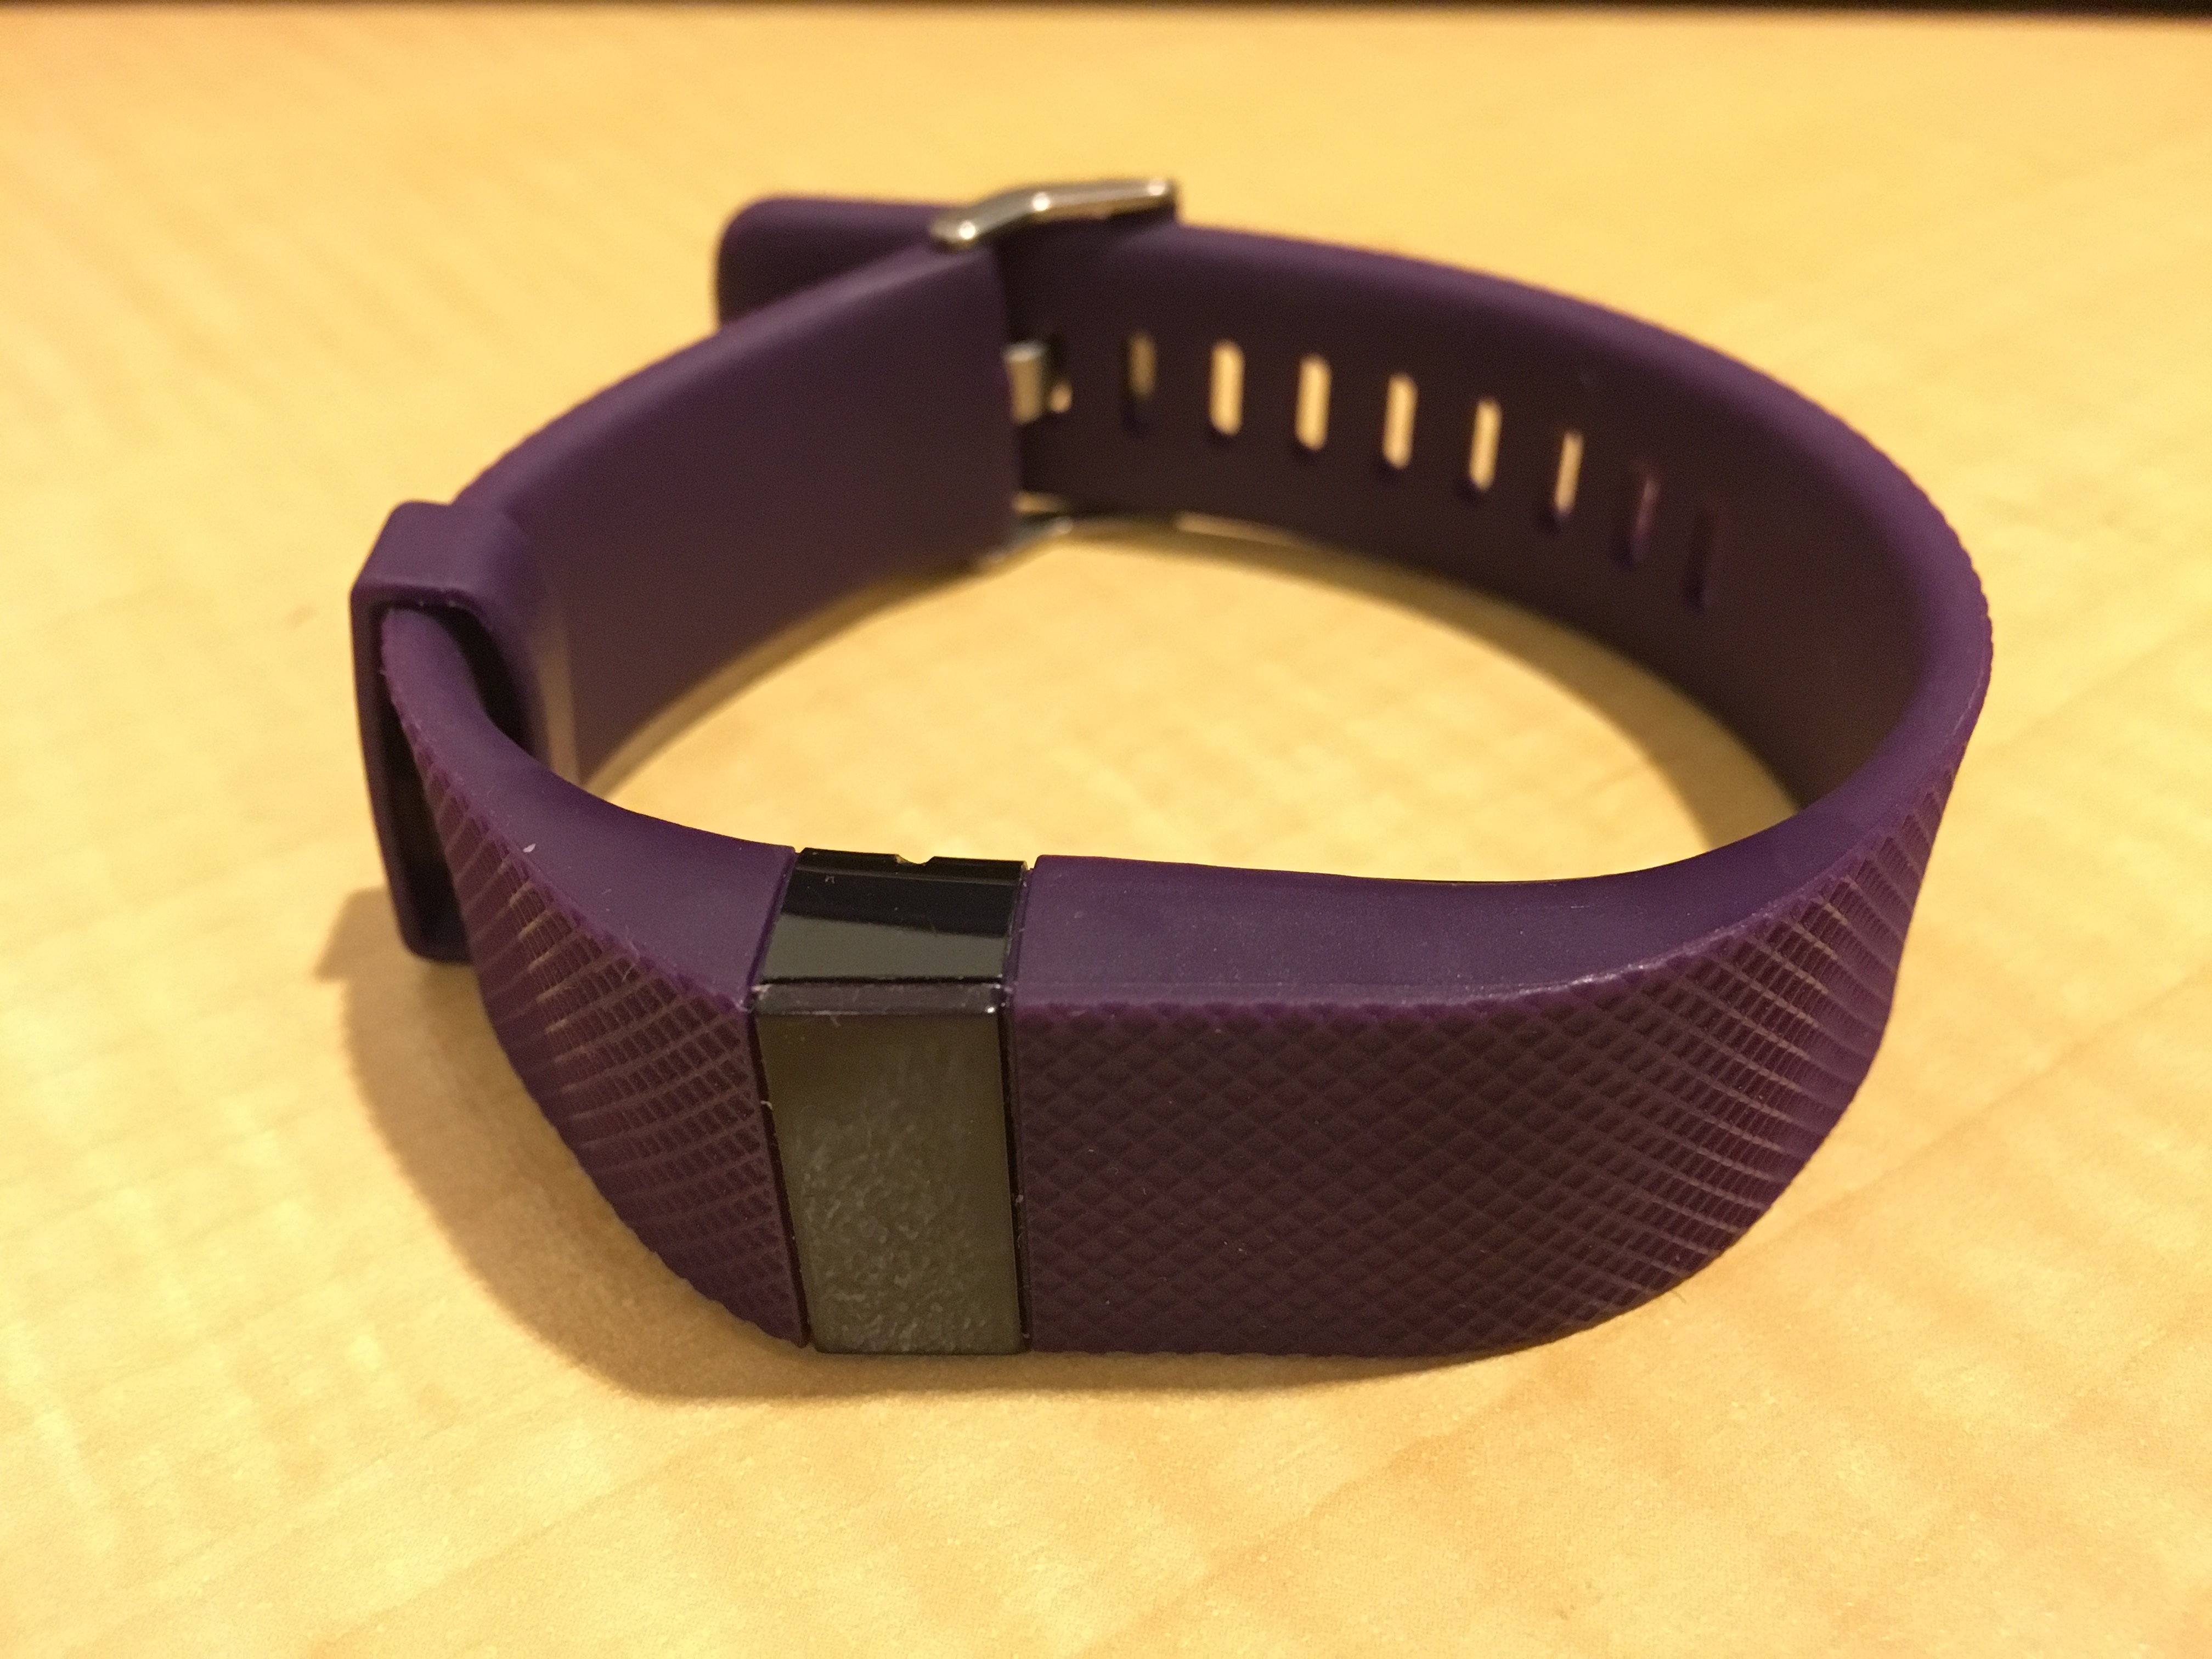
Pop the device into the new housing, and make sure the button on the side sits on the new strap membrane. Replace the screws and you’re done. Good as new, and in my case, in a new colour, too.